Mixed Media Monday: Rorschach Inkblot Mini Art Journal Part 2

Does it still count as Monday if Monday was a holiday? I know it has been awhile since I updated, I haven’t had the ability to create new content. I plan on covering why in a later post… when I know what to say about it. For now however, I do have a few videos and projects I never got the chance to post.

My second part (if you haven’t checked out part 1 view it here) of the Rorschach Inkblot art journal entry was a simple page:

Rorschach Inkblot Art Journal

I created a black background with acrylic craft paint, created a new inkblot on a roll of receipt paper, illustrated this eye:

Rorschach Inkblot Art JournalAnd glued a glassine envelope to the page to hold the mini journal from part 1, I used my favorite Inktense Pencils to add some color to the page and that was that. Watch the process below, and stay tuned for new content!

Mixed Media Monday: Rorschach Inkblot Mini Art Journal Part 1

Rorschach Inkblot Mini Art JournalBetween social and family obligations this weekend I only remembered I needed a video for today when I woke up this morning. I wanted to do something a little different with this weeks pages, so I made a mini journal. I’m sure you’ve seen the Rorschach inkblot tests and possibly made your own at some point in middle school art class. I created 6 inkblot pages on old dictionary paper, then doodled around them with different pens, glued each page to another and cut them into half sheets. Lastly I sewed all the half sheets together to make a mini art book with 12 double sided pages:

Rorschach Inkblot Mini Art Journal

Rorschach Inkblot Mini Art Journal

Rorschach Inkblot Mini Art Journal

I wish I would have taken more pictures of the inkblot pages before I halved and then quartered them. Since I didn’t plan out ANY of this project before I was already doing it I ended up with a very different project than usual. I’m not done, however, I plan on integrating this book into my big art journal next week.

If you enjoy the video don’t forget to like it! Have a great Monday (night).

Miniature Chest of Drawers Refurbishment

I bought this super beat up mini chest of drawers back in December.

Miniature Chest of Drawers Miniature Chest of Drawers

Periodically since then I’ve been changing it around, the first thing to go was the ugly trim on the drawer faces:

Miniature Chest of Drawers

Then the bottom molding:Miniature Chest of Drawers

Miniature Chest of Drawers

I removed all the panels, and decided the top molding had to go to.Miniature Chest of Drawers

I asked Matt to take it off with his saw, which I thought would be neater. However after a week of waiting I got impatient and took a hacksaw to it in the middle of the night. Here it is sanded before trim removal and with some wood filler drying:

Miniature Chest of Drawers Miniature Chest of Drawers

Here it is before and after staining:

Miniature Chest of Drawers Miniature Chest of Drawers

I added some teal paint to the body of the chest and panels, and spraypainted the drawers white. I also added burlap to the drawer faces and finished the whole thing with new trim:

Miniature Chest of Drawers

Miniature Chest of Drawers

Miniature Chest of Drawers

Miniature Chest of Drawers

This was one of those projects that started out as a little cleaning and polishing and ended with a complete overhaul. I love the end result though! Here it is once more before and after:

Miniature Chest of Drawers

Miniature Chest of Drawers

I Finally Made a New Lightbox!

I posted about the light box I originally made here a few years ago. If you haven’t seen this idea before check out this article on how to make a simple one. My first one was quite small and eventually quite squashed, and didn’t make the move to the new house. Making a new larger set up has been top of the to-do list for a month. I finally put it together this weekend and I’m so happy with the result. I love the ability to take pictures even when the ambient light is dim!

DIY Light Box

It’s also set up in the basement so it’s out of the way of the regular chaos of my studio. All of the wood I used was left here by the old owner, and with $2 of thrifted fabric and $10 worth of lights it was super cheap too.

Here is an example photo, which I took when I finished the box late at night:

DIY Light Box

I am also using the light box for filming my mixed media pages, if you watched the last video you might have noticed the change. I think it’s a great improvement.

DIY Light Box

Mixed Media Monday: Birthday Butterflies

Birthday Butterflies Art Journal Page

Since my 25th birthday was last Wednesday my pages this week include a variety of things I got. The paper thin wood veneer I bought with a gift card has been really fun to experiment on. In the video I use a mixture I made a loooong time ago for darkening wood. It’s just a can of steel wool and vinegar, the rusty liquid can make a cool effect on most woods. It’s also good for taking the shine down on metal hardware like I did in this project. I want to try so many more techniques on sheets of veneer, I just love wood grain!

With the same gift card I also picked up a heat gun. It’s this one, and it really speeds up filming art journal pages. The tags on the page were made by my sister for my present and they were too pretty to toss out. As for the rest of the layout I use gesso, washi tape, acrylic paint, a honeycomb stencil, my fine tipped Ultimate Craft Pen, butterfly images I bought thrifting years ago, and some labels.

Birthday Butterflies Art Journal Page

This weekend I finally took some time and built a new light box for filming and photography. So let me know how you like the new video!

What does the Ladies’ Home Journal 1938 and Cookies Have in Common?

Ladies Home Journal 1938

I found this 1938 copy of the Ladies’ Home Journal at a thrift store about a year ago.

Ladies Home Journal 1938

77 year doesn’t seem all that far away but looking through this magazine it feels like an alien civilization. It’s especially evident in the ads, look at this super sexist ad for canned fruit:

Ladies Home Journal 1938Or this cigarette ad advising you to smoke at least 6 packs of Camels to see the difference it makes in your nerves:

Ladies Home Journal 1938

Even the more mundane ads are targeted at solving problems no woman has anymore:

Ladies Home Journal 1938

One of the ads, however, caught my eye as it was a product I’ve seen in real life:

Ladies Home Journal 1938

This cookie press made by Mirro is very similar to the one that I watched my Mom use every Christmas. Sure enough when I showed her the ad, she brought out the old box and it was made by Mirro all be it about 15 years later. The design is ever so slightly different, it no longer worked so she gave it to me.

Vintage Mirro Cookie Press

Along with a variety of the old die plates:

Vintage Mirro Cookie Press

I bought a donor press from the ARC a few weeks later, another Mirro press of an even later design:

Vintage Mirro Cookie Press

Although a little frankenstein looking… together they work wonderfully.

Vintage Mirro Cookie Press

To try out my press I used this recipe, and a simple glaze:

Cream Cheese Spritz Cookies

My Mom and my sister and I made spritz cookies with this press every year and it makes me very happy to think I will continue to do so.

Mixed Media Monday: Mermaid Illustration

Mermaid Art Journal Illustration

If you watched the video last week, you saw that I tore out the right hand page after repeatedly disliking how it was turning out. So this week I show what did end up on that page. It’s pretty simple, not like the endless layering of some pages. Here is the finished illustration:

Mermaid Art Journal Illustration

If you didn’t catch last weeks video watch me create the sun illustration and sewn half page here. For my mermaid I used gesso, watercolors, Inktense blocks, my fine tipped Ultimate Craft Pen, a metallic gold paint pen, and a mermaid outline I made for another project. If you enjoy the video like it, and have a great Monday!

Mini Curtain Project, Some Thrift Store Finds and Pretty Plants

I’ve needed curtains in my studio/office since we’ve moved in. Well we’ve needed curtains in lots of rooms since we moved in but haven’t quite got there. For the office I wanted a very simple, small cafe curtain on a tension rod inside the frame. There is very little space left in that room and large curtains would be in my way.

So when Matt and I went to IKEA last weekend I grabbed a pair of Matilda curtains. IKEA Matilda Cafe Curtains

They are 98″ long, so I cut and hemmed each panel to be only 30″ long. I was going to take the rest of the length and turn them into two more 30″ panels but it was late I measured and cut the first one wrong sooooooo I abandoned that plan. I think it still looks nice with just the two:

IKEA Matilda Cafe Curtains

As you can see these pictures are from right after I finished them:

IKEA Matilda Cafe Curtains

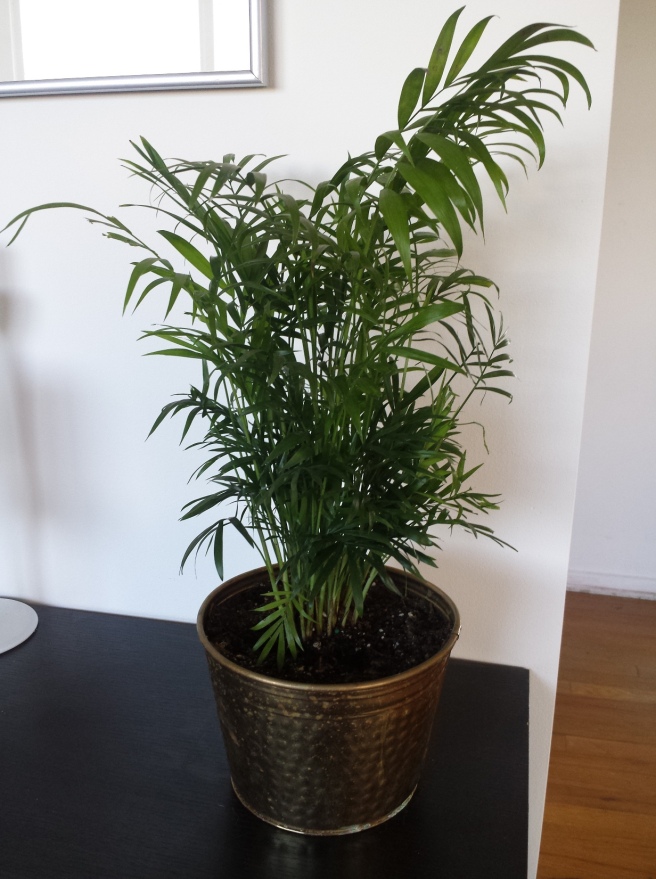
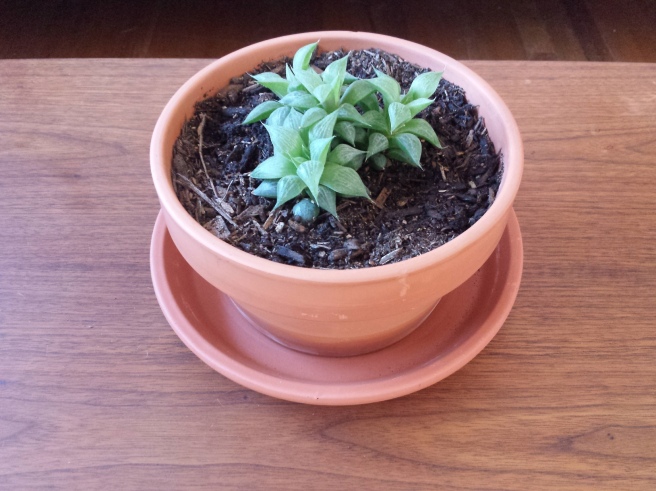
I bought a couple of new plants while I was at IKEA as well, and brought them home to find I had no more pots to put them in. I’ve tried to steer clear of any plastic containers for my plant collection, just terracotta or metal or clay anything natural really. Brass pots are all over thrift stores in varying degrees of decay. I found these plus a shallow terracotta pot yesterday:

Brass Thrift Store Pots

Brass is very easy to shine up if you are so inclined, use a paste of baking soda and either lemon juice or vinegar. If the brass is badly tarnished leave the paste on the surface for a few minutes before scrubbing with a soft cloth. You can also use Brasso, which smells terrible but does get the job done a bit quicker. I only polished the curvy pot on the left since I liked the way the other was tarnished. When cleaning plant pots care must be taken not to leave any cleaning residue since it will leach into the soil and affect the plants health. Here they are planted:

Thrift Store Brass Planter

Thrift Store Terracotta Planter

Thrift Store Brass Planter

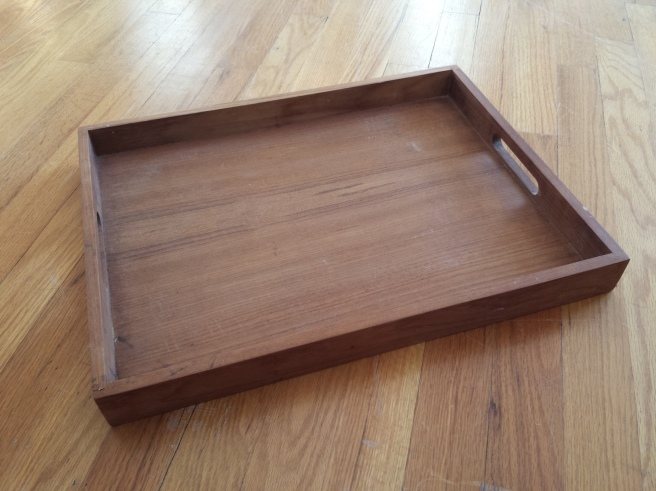
I found some other awesome things at the thrift store when I was looking for plant pots, first this gorgeously mid-century teak serving tray:

Mid-Modern Teak Serving Tray

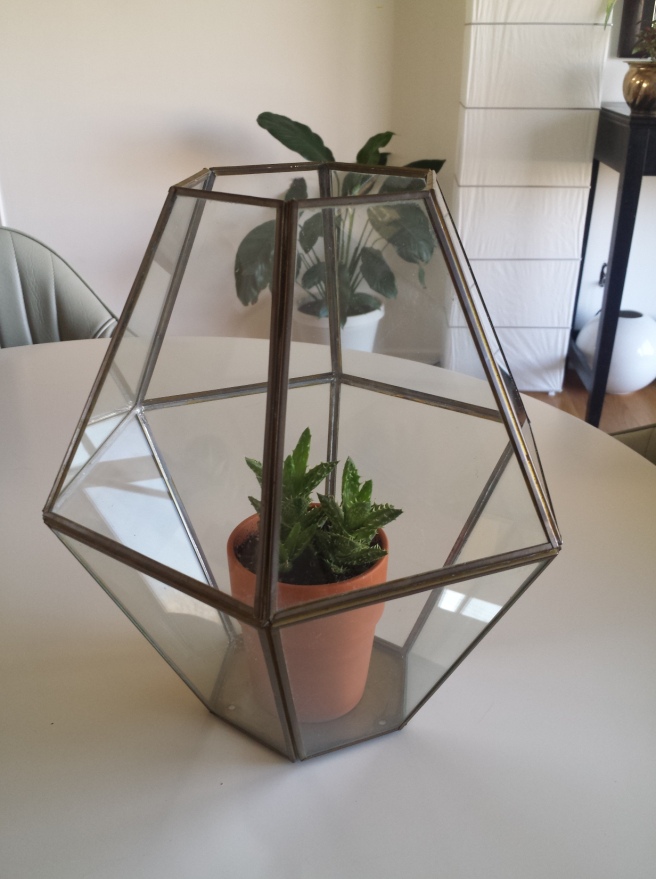
Another brass light fixture like the big one I turned into a terrarium:

Brass Light Fixture Terrarium

Here it is gutted and planted:

Brass Light Fixture Terrarium

I also found this interestingly patterned fabric, it has printed in Kenya on the side and I think it must have been a scarf or wall hanging since all the edges are hemmed. Thrift Store Fabric Kenya

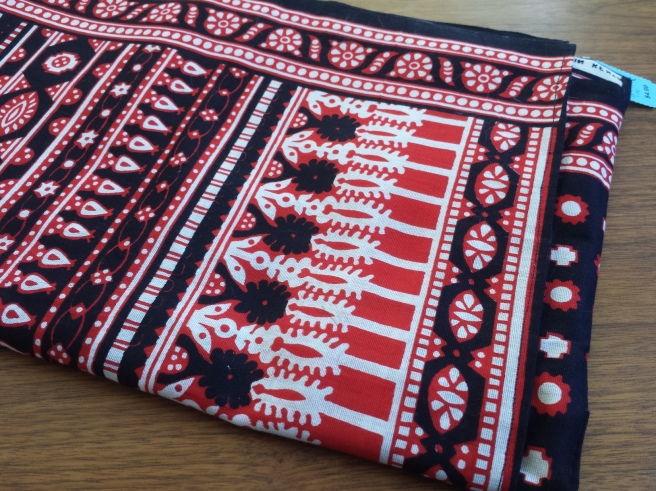
I don’t always check out the clothing when thrifting, but I did this last time and found some great stuff. I’ve already worn this little dress several times, it’s been so nice out:

Little Thrift Dress

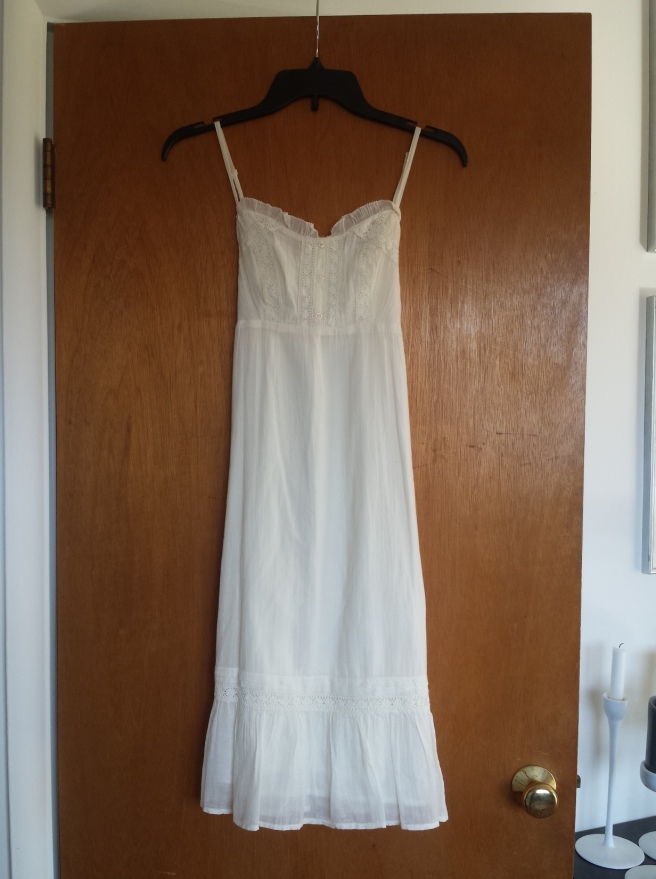
I actually bought this next dress brand new for $30 from Forever 21 years ago but it was too big and I returned it, this one fits perfectly and for $5! Forever 21 Dress

The buttons on the top are gone but that has to be the easiest fix in the world of clothing repairs:

Forever 21 Dress

I’ll either replace them all to match or maybe change the way the whole top closes perhaps with some lace underneath.

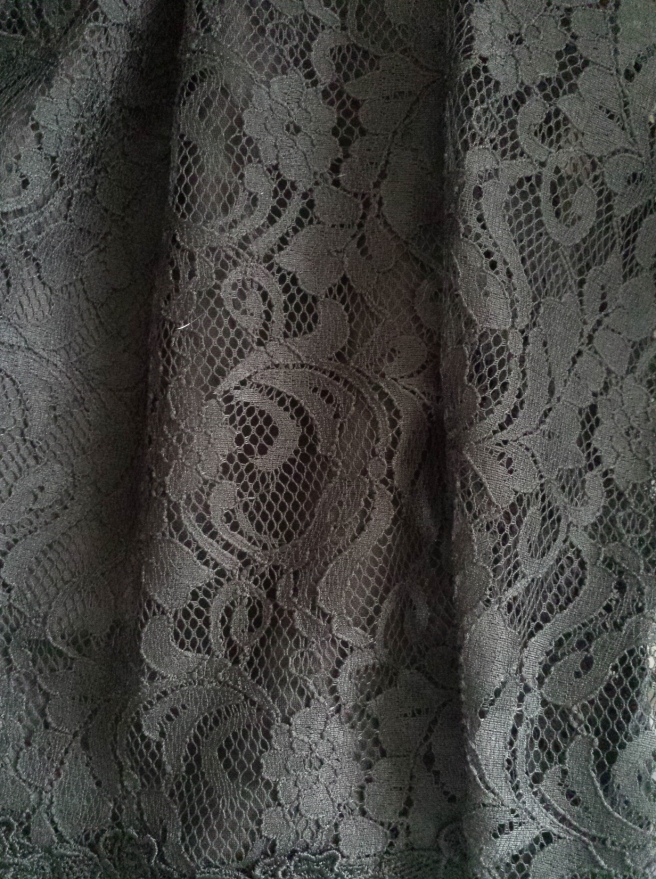
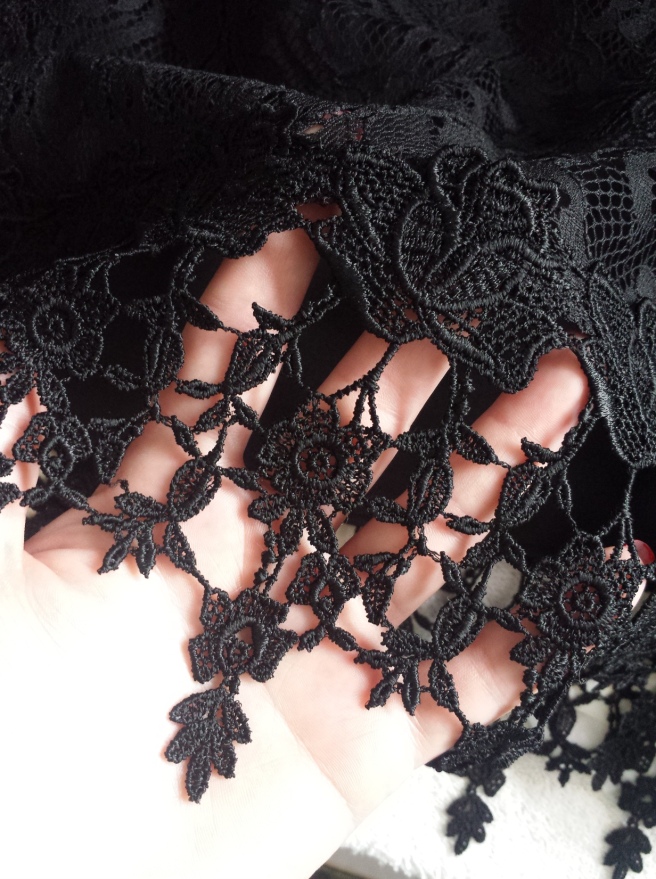
I bought this ridiculously ugly puff sleeve top to harvest it’s lace:

Black Lace

Black Lace Detail

Lastly I bought this silly skull tee, I’m going to have to cut it up though, I can’t stand to wear anything that touches my collarbone:

Thrifted Skull Tee

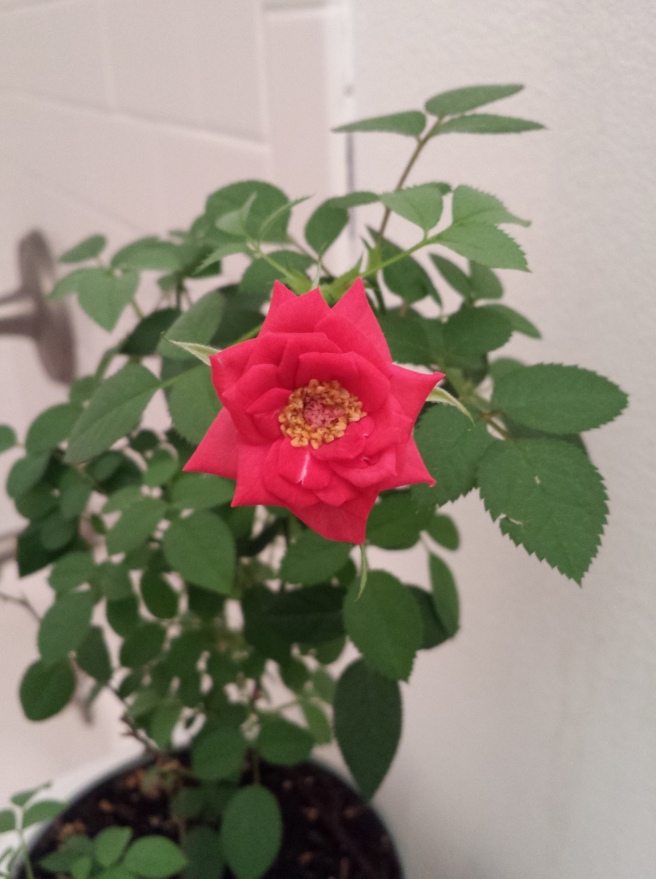
This post has been all over the place so one last thing in honor of the first day of Spring here is my mini rose and its somewhat odd looking flower! Yay Spring! Have a good rest of your Friday!
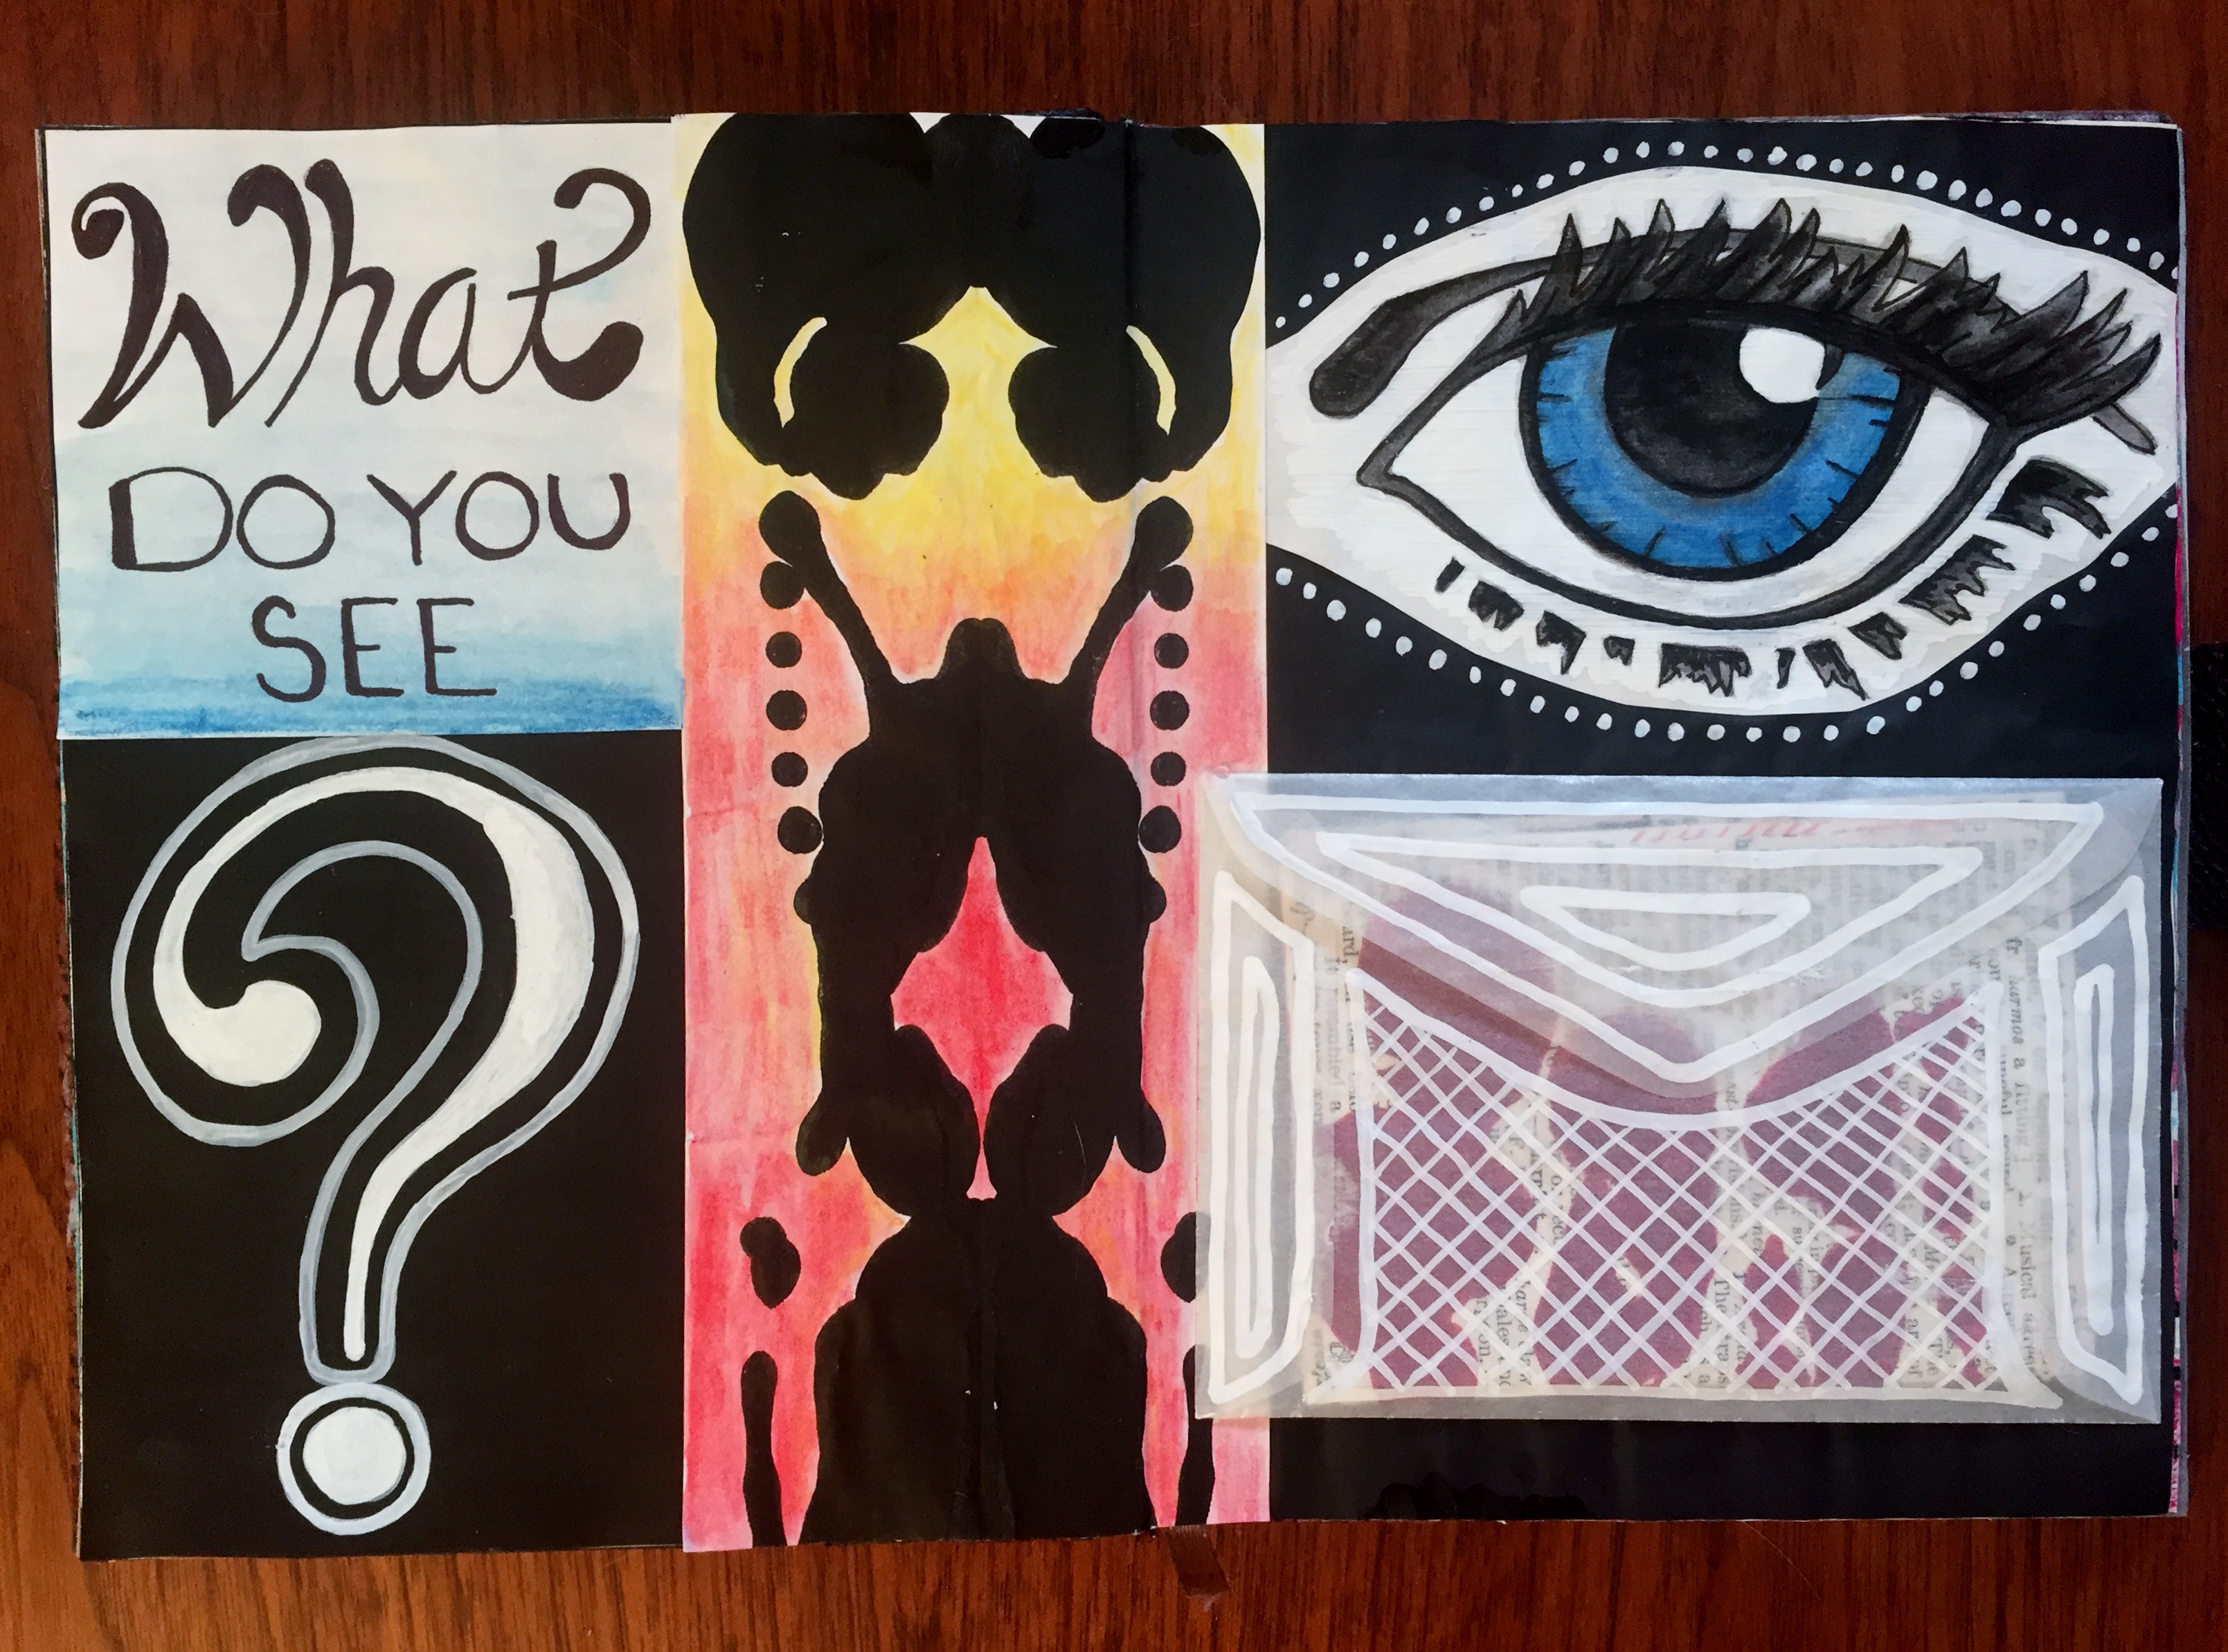
First Day of Spring Rose

Mixed Media Monday: It Doesn’t Always Turn Out The Way You Planned

I’ve mentioned that I use packing tape or contact paper for image transfers on here before, though I can’t find if I ever explained them. For the pages I’m showing you today I used a large contact paper transfer. Here are the greeting cards I started with:

Contact Paper Image Transfer

I cut them into strips and arranged them:

Contact Paper Image Transfer

I burnished each card onto the contact paper:

Contact Paper Image TransferTo turn this into a transfer, I stuck the whole thing into a bowl of water and let it soak until the paper was falling off. Rubbing gently with my fingers I got the rest of the paper fibers off the contact paper. I let my transfer dry on paper towels, sticky side up until I was ready for it.

Contact Paper Image Transfer

Tip for Image Transfers:

None of the transfers I’ve made are still sticky enough to use as is, I use spray adhesive before adding them to my journal.

I’ve had good results with packing tape and contact paper, I’ve heard you can use a thick coat of modge podge but I haven’t tried that.

The best images to use for backgrounds have lots of white space, white in printing is a lack of ink so there will be clear spaces on the transfer for your page to show through. You can also transfer whole images or words and add them to the foreground of your pages.

One other technique to try is covering a magazine page with a stencil and then the contact paper, then treating it like a normal transfer to get a patterned image transfer.

To store transfers that you made and aren’t using right away, put them sticky side down on wax paper.

While making this week’s art journal pages, the right side page never looked right despite my attempts to fix it. In the end I rip it out of the journal. Sometimes art journal pages don’t turn out the way you would have liked.

Art Journal Half Page

Art Journal Half Page

I used Inktense blocks, the image transfer from above, my sewing machine with red thread, some gessoed dictionary pages, and a variety of other things on the  page that gets ripped out sooooo it doesn’t really matter. Watch the video below, like it and have a great rest of your Monday!