Room Tour: My Studio/Office/Closet

I’ve shown a couple of the projects in my back room/studio/closet/office (I have trouble labeling this room) before… The scarf wall, and my simple closet updates. However, I don’t think I’ve ever posted a look at the whole room. I happened to clean up all of my half finished projects today so it was the perfect time to show it off. Lets start with my favorite wall which is what you see when you walk in the door:

My Studio

I need to hang something under the house, it looks lonely by itself.

My Studio

My StudioMy Studio

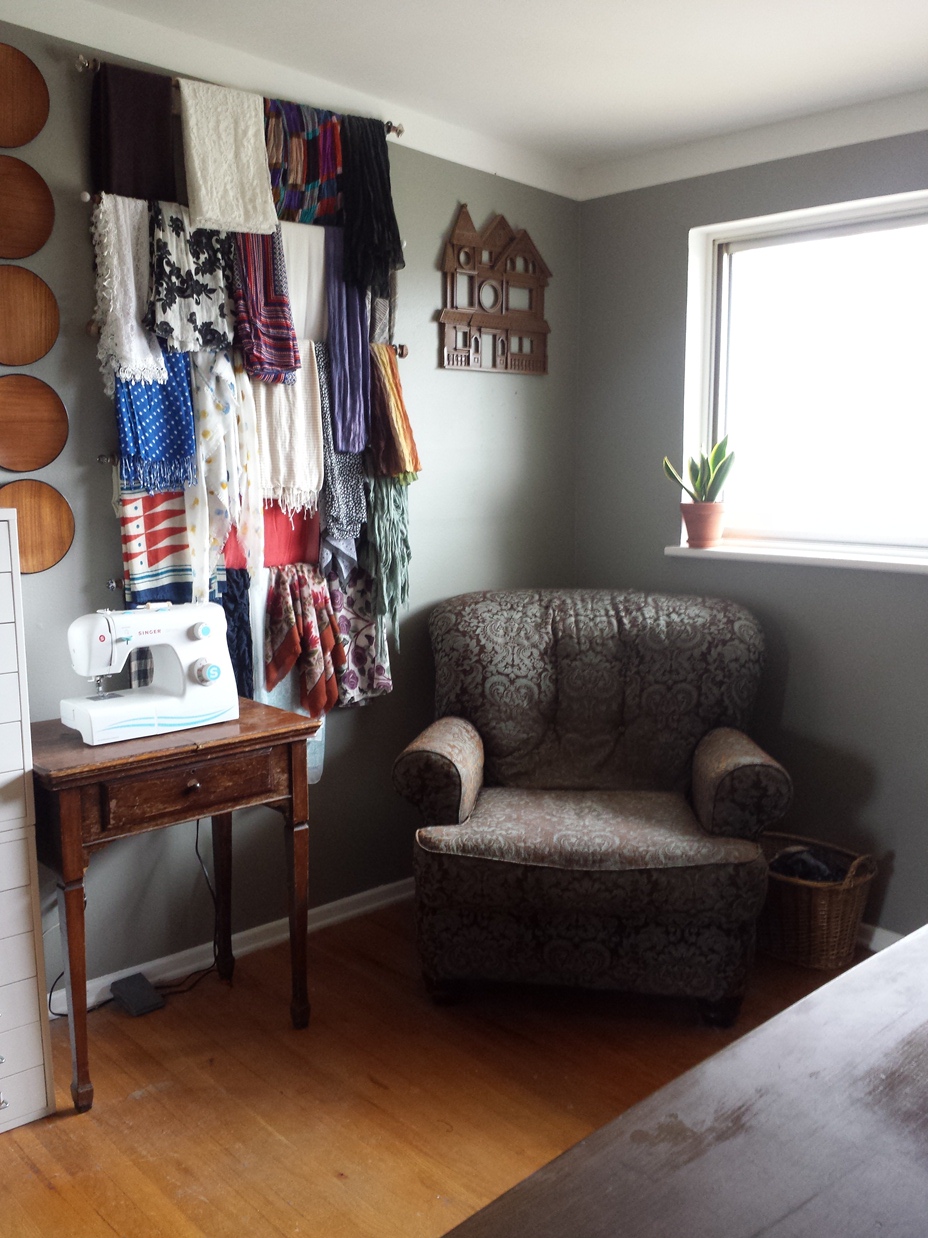
I store all of my makeup in the mini dresser on the server. I got it unfinished from Hobby Lobby, stained the sides and painted the drawer faces white. The hardware is from Hobby Lobby as well. As you can see, I need a light switch plate. I hate the white plastic ones. I’ve been thinking of making one in the shape of a cat or a bird or something.

Hobby Lobby Mini Dresser

The pictures in these frames are all vintage black and white photos I got in a box of ephemera from a flea market in Arizona. I still need to add one to the top frame.
My Studio

I think often of putting up some kind of cloth line or wire behind the door for art in progress. It would be especially useful during gelatin printing, since I run out of floor space for drying paper pretty quickly.

My Studio

My Studio

That’s the grand tour, like I said this is waaaaaaay cleaner than it ever is. Plus there are usually more visitors if I’m working in it:

My Studio My Studio

Copper and Rope Hanging Planter Tutorial

I had these lovely Epipremnum aureums (Golden Pothos) in hanging pots but nowhere nice to hang them. The hook in the ceiling is too dated for my taste.

PothosSo I came up a copper and rope hanger for them! To make your own you will need:

Supplies for Copper Rope Planter Hanger

Rope, copper pipe, copper end caps, copper brackets, thin hemp rope to bind the ends of the large rope (that’s whats pictured but I ended up using heavy duty black thread for color contrast), screws and anchors for the ceiling, hooks to hang the pots from (or you could slide the hanging pot right onto the pipe), and the planted hanging pots you want to hang. Everything I used is from Home Depot, except the hooks and pots which are from IKEA.

First up tie the knots, I used a square knot. Measure how far down you want the pipe to hang from the ceiling, make the top loop this long. To tie this knot you first go right over left and then left over right.Tie a square knot 1Tie a square knot 2Tie a Square Knot 3How to tie a square Knot 4Tie a square knot 5If my pictures don’t make it clear enough check out this video from The Art of Manliness. To help with adjustments cut the ends longer than you need. When you have the lengths right trim the excess rope. Bind the ends to prevent unraveling, with smaller rope or heavy duty thread:

Wrap Ends of Rope

Here are my finished knots, one is longer than the other since my ceiling is sloped:

Finished Knots

Install the anchors into the ceiling and screw one side of each copper bracket into the ceiling, so you can add the knot before closing them:

Hanging Rope Copper Brackets

Finish screwing in brackets, and side the copper pipe though the center of each knot:

Copper and Rope Hanger

By the end of all my adjusting, I had touched the brackets and pipe enough to tarnish it pretty bad:

Before Brasso

I used some Brasso to shine up the copper pieces, if you don’t have any on hand salt and lemon juice works just as well though a little slower.

After Brasso

Use hooks to hang your pots:

Finished Copper Hanging Plants z

Pothos Close Up

Much better now that the Pothos (which are toxic to cats) and the hanging strings aren’t dangling around, tempting these handsome boys:

Todd

Oliver in Hat

Bathroom Renovations

When Matt and I moved into this house our first priority was the bathroom. It was atrocious, not just ugly but also so disgusting. The pink carpet had gotten so filthy it always felt kinda damp. Anyway we got on fixing it up so fast I can’t find a before picture. Here it is with demo already in progress:

Before VanityBathroom Demo

Brown tub and toilet, light oak accents, lime green plastic tiles, pink carpet and lavender walls…

First thing in was our new tub:

New TubAnd then new surround, we chose simple white subway tiles because we had big plans for the floor. This is before grout:

Subway Tile No Grout 1 fixAnd after grout:

Subway Tile Grouted fixNext up, more demo I removed the vanity over one long afternoon:

Bathroom Before 1 fix

And then it was time for the fun part of playing with the floor tiles!

Tile Pattern fix

We bought several boxes of these 2 x 8 slate tiles from The Tile Shop. Over a week or so Matt and I worked on the floor together most nights. He cut tiles and I laid them:

Tile Spacing Close up fix

Tile Spacing 1 fix

We had a few tiles pop off the mastic when I removed the tile spacers, I think this was because we didn’t wet the tile back first. After we started dunking them in water no more popped up. You can also see the last of the brown toilet in this picture!

Tile In Progress 2 fixHere is Matt laying the last intricate cuts:

Tile In Progress fix

We added half inch back splash tiles around the walls and tub to finish off the edges:

Tile Close Up fix

Here is the whole thing done without grout:

Tile No Grout 1 fix

I grouted it myself one day while Matt was at work, it looks almost white in these photos but is actually light grayish silver.

Tile Grouted 2 fix

Beautiful herringbone!

Tile Grouted 1 fix

We bought the new vanity when we bought the toilet and tub but that will be in a whole different post for now look at Todd checking out the inside of it:

Bathroom Vanity

With the bathroom usable and so much prettier our attention shifted to other sore spots around the house. Among the things still on the to do list, painting, a medicine cabinet or mirror or both, and curtains for the window.

Writer’s Block & Cats

I’ve been terrible about posting here lately. Sometimes the longer I stay away the harder it is to start posting again. At times like these I find the best way to reawaken the sleeping writer is to do a very silly post. Easy to write, easy to read, and then the whole process stops feeling foreign and I can once again dazzle you with more in-depth posts! So…

When I was little, I really wanted a kitten, unfortunately my mother did not. I begged for one, I tried bargaining for one, I hatched plans to catch strays and hide them under my bed. My ideal cat would have been a white Persian, the fluffier the better, which would follow me around during the day and sleep in my bed at night. Among my cat stuffed animals, I also had two old books filled with cat pictures which I poured over for years. These are all from Walter Chandoha’s Book of Kittens and Cats:

As I got older I didn’t obsess over my desire for a cat anymore. I still liked them, I still would like have liked to own one, but I didn’t think about it very often. Once I got into high school I stopped thinking about owning a cat altogether. Until about a year ago when my husband called me from work, and told me to come down and see him. When I got there he had an adorable black and white kitty with a red bow tied around his neck. There had been an adoption event at the shelter in Madison and he brought the kitten back to his work and let him play in the warehouse until I got there. I brought him home and he is just as wonderful as I always figured a cat would be.

A Long Overdo

I have found some awesome stuff in the last couple weeks, but I haven’t posted about it! Below is a quick wrap-up of some of my great finds.

A vintage wind-up alarm clock, I love the face plate on this. It doesn’t run, the main wind-up mechanism is stuck but the alarm works. It’s so pretty I don’t really care, I just set it to a time I like and display it anyway.

Then there is this awesome oddity, a rather detailed house shaped picture frame.

It was $3.99, and it took forever to purchase because the woman in front of me was returning some things… to Goodwill… like 6 bucks worth of junk… to a thrift store. It took about 15 minutes and a manager had to come over and check back in a candle, a candle stick, two place mats and a little purple vase. I am of the opinion that if you buy something at a thrift store, it’s yours. Most second-hand stores don’t even take returns and the ones that do never take returns on the things that would be worth it like furniture and electronics. Back to the frame though, super cool very kitschy.

Moving on here are two chairs that Matt really wanted.

The first green one is a rocker and is in the living room now, it was marked $30 but Matt talked the manager of the Savers up the street down to $12. The second is a Goodwill find and it is super comfortable, doesn’t roll all that well though. Although it seemed to be popular, I sat in it while I contemplated buying it and people kept coming up and touching it.

I saw this lamp from across the store and knew I was definitely going to buy it. I want a new shade though, I think a nice drum shape would be best.

Lastly is a server I bought today for $25. It is very large and a bit dinged up but it is perfect for the kitchen.

I know it’s a not in mint condition but when the guy from the store brought it outside for me he drug it along the asphalt which resulted in this:

He spoke no English, and I don’t think I would have complained anyway but come on I did just buy this. I think thrift stores are generally rather rough with the merchandise I suppose they figure if it’s a got a big gouge in the top people will still buy it so why be careful.

I love the hardware and I think it looks great in my kitchen plus Todd seems to like it so I’ve got that going for me.

Fireplace Insert Facelift (Almost) Done!

Here is the hideous before shot of our fireplace. It was filthy and dated looking. I hate the black and gold color combo on the insert.

To bring it into this decade we decided to paint it silver. We bought a couple of cans of Rustoleum’s Hammered Silver spray paint. The hardest part of this project was getting the insert off the fireplace and then cleaning it. While Matt took the insert outside to clean and prep it, I was busy patching the walls to prepare them for paint. Todd decided he would help out our living room project by climbing into the now exposed firebox and covering himself in soot. I stuck this mirror in front of the opening just to keep him out, but I like the look.

I think if you have a non-working fireplace in need of a makeover this would be a cool option. Here is Todd trying to get past the mirror or maybe checking to see how his soot dye job looks.

Before we could put the insert back I needed to clean up the bricks. I spent around 4 hours with an old toothbrush scrubbing the mortar, but the results were worth it. The light in these pictures makes it look like the mortar in the after photo is much darker but it’s just the lighting… I swear.

Back to the insert Matt tried to tape off the glass doors but the tape didn’t want to stick and he lost patience for it. After the paint dried he just scraped it off with a plastic razor blade. So here is the result.

The hammered metal paint gives it some nice texture and keeps it from looking too cheap. I really like the lack of black and gold. I don’t know what to do about the knobs though, hence the almost done. I don’t want them to be silver too, I want them to be eye-catching, but I’m not sure how to do that without just buying new ones.

The rest of the living room is chugging along here is a another preview shot.

I don’t know if those frames are staying on the mantel or if I will keep the blue and white damask fabric in them… and the curtain pole still needs to be cut down a few inches and stained. I have got to stop writing and get back to work looking at this picture is making me realize how much there is left to do!

1948 Singer Sewing Machine

My aunt had this lovely machine dropped on her doorstep as a poorly thought out prank. So she didn’t want it and very sweetly gave it to me… she even brought it over to my house! Anyway I’ve identified it as a 1948 Singer 15-90. It’s in need of some lovin’ and plenty of CLR, but I can’t wait to take it apart and get it working again. I also want to re-finish the cabinet, but I think I might be getting ahead of myself… my kitchen is still not setup. Here are a couple of glamour shots of the machine, the first (and possibly cutest) is Todd inside the table when I turned my back for a minute.

Thrift Store Finds

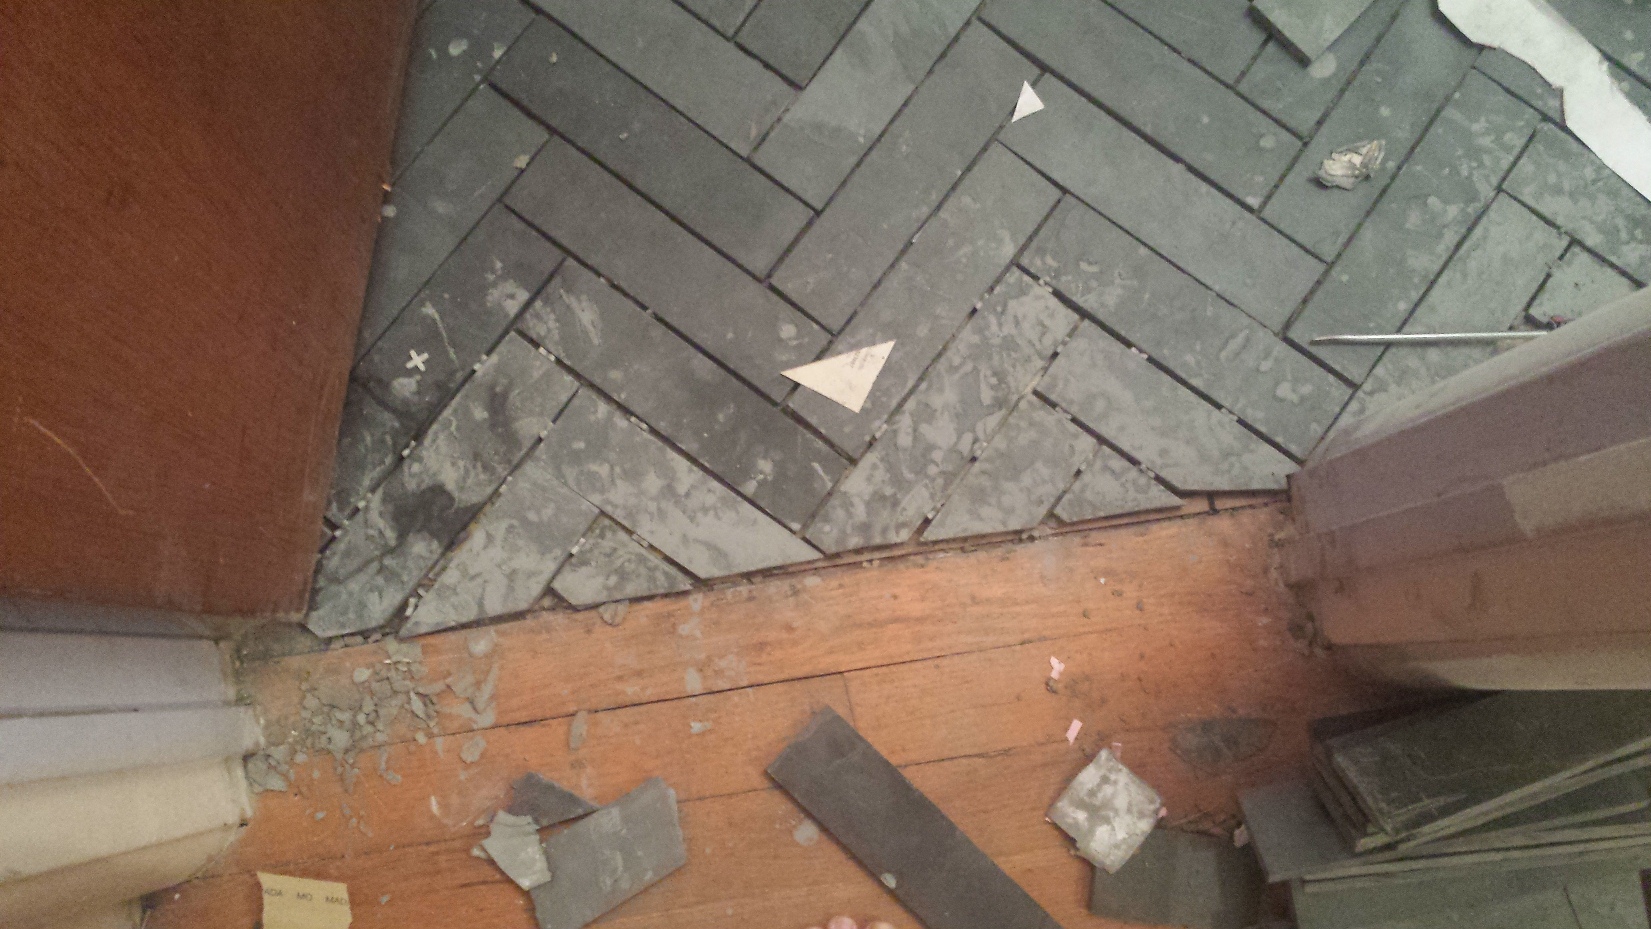
I found some sweet stuff at the thrift store up the street from my parent’s house the other day, all sewing stuff you might notice… I cracked the box with my sewing machine in it, can’t stop myself from some starting some kind of project.

Gorgeous printed cotton, 3 yards for only 2.25

Almost 4 yards of this off white lace for only .99

Plus this sweet shirt for 2.99, it needs some help to remove the granny-ness but I love the crocheting (apparently so does Todd)

I don’t think I’ll keep the under shirt attached, or the buttons… or the color.