Mini Curtain Project, Some Thrift Store Finds and Pretty Plants

I’ve needed curtains in my studio/office since we’ve moved in. Well we’ve needed curtains in lots of rooms since we moved in but haven’t quite got there. For the office I wanted a very simple, small cafe curtain on a tension rod inside the frame. There is very little space left in that room and large curtains would be in my way.

So when Matt and I went to IKEA last weekend I grabbed a pair of Matilda curtains. IKEA Matilda Cafe Curtains

They are 98″ long, so I cut and hemmed each panel to be only 30″ long. I was going to take the rest of the length and turn them into two more 30″ panels but it was late I measured and cut the first one wrong sooooooo I abandoned that plan. I think it still looks nice with just the two:

IKEA Matilda Cafe Curtains

As you can see these pictures are from right after I finished them:

IKEA Matilda Cafe Curtains

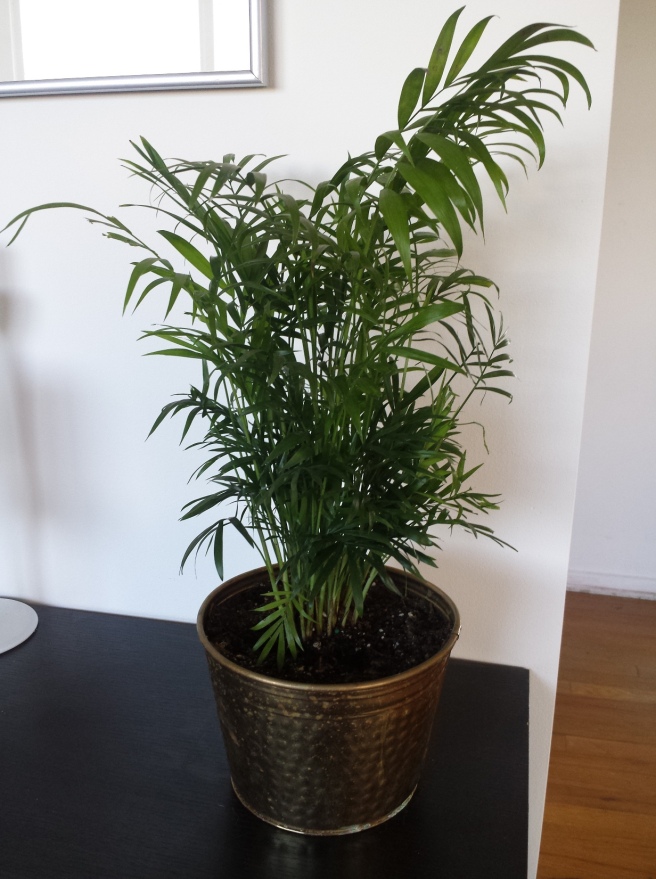
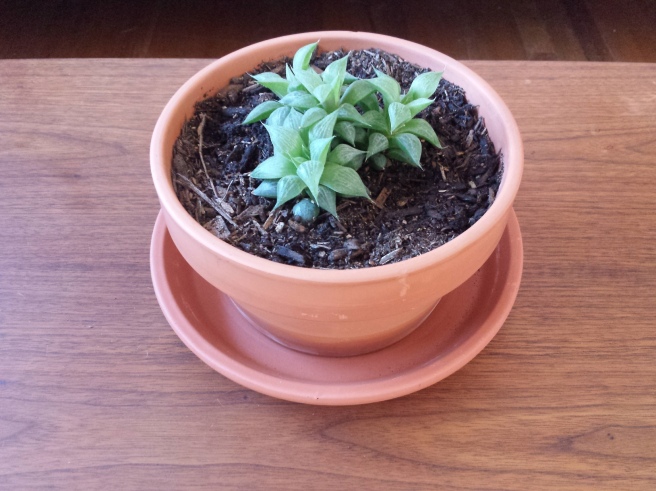
I bought a couple of new plants while I was at IKEA as well, and brought them home to find I had no more pots to put them in. I’ve tried to steer clear of any plastic containers for my plant collection, just terracotta or metal or clay anything natural really. Brass pots are all over thrift stores in varying degrees of decay. I found these plus a shallow terracotta pot yesterday:

Brass Thrift Store Pots

Brass is very easy to shine up if you are so inclined, use a paste of baking soda and either lemon juice or vinegar. If the brass is badly tarnished leave the paste on the surface for a few minutes before scrubbing with a soft cloth. You can also use Brasso, which smells terrible but does get the job done a bit quicker. I only polished the curvy pot on the left since I liked the way the other was tarnished. When cleaning plant pots care must be taken not to leave any cleaning residue since it will leach into the soil and affect the plants health. Here they are planted:

Thrift Store Brass Planter

Thrift Store Terracotta Planter

Thrift Store Brass Planter

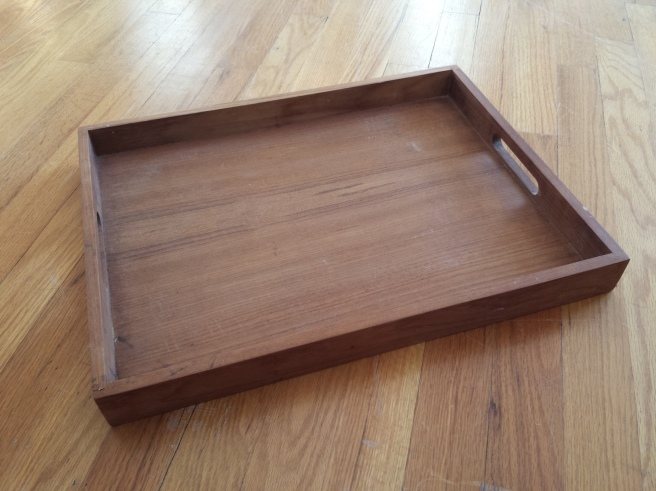
I found some other awesome things at the thrift store when I was looking for plant pots, first this gorgeously mid-century teak serving tray:

Mid-Modern Teak Serving Tray

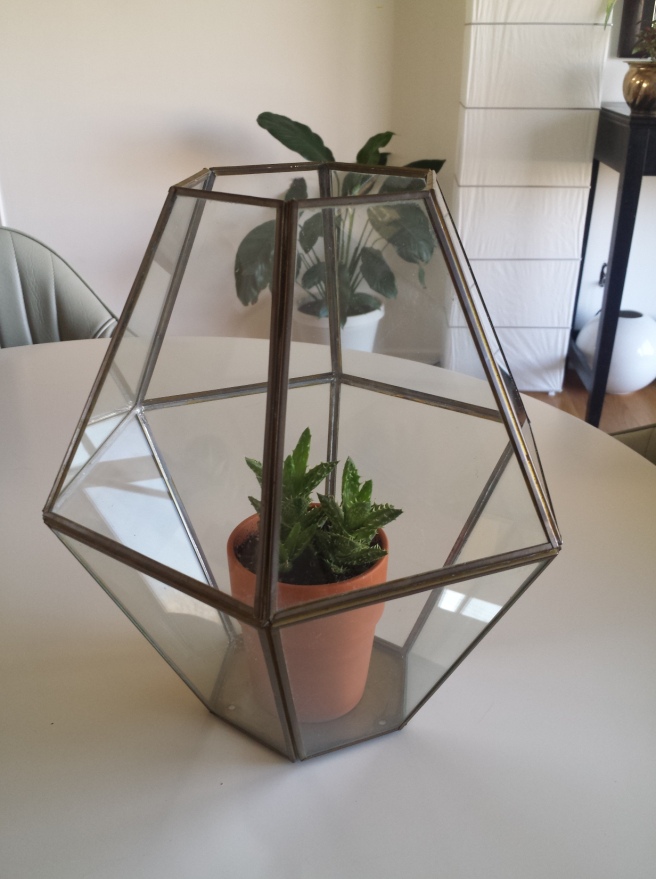
Another brass light fixture like the big one I turned into a terrarium:

Brass Light Fixture Terrarium

Here it is gutted and planted:

Brass Light Fixture Terrarium

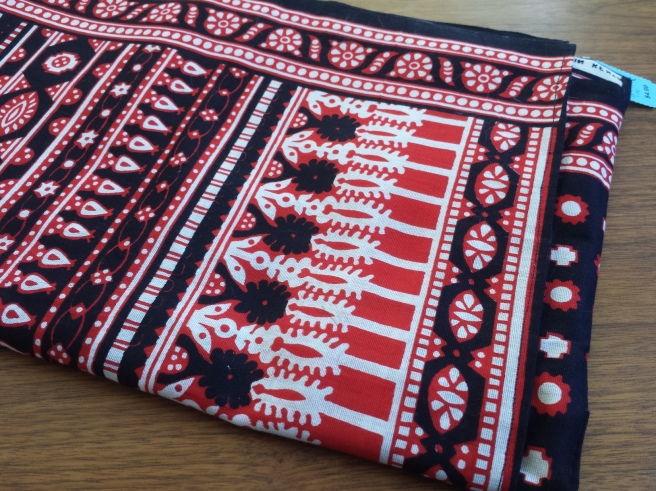
I also found this interestingly patterned fabric, it has printed in Kenya on the side and I think it must have been a scarf or wall hanging since all the edges are hemmed. Thrift Store Fabric Kenya
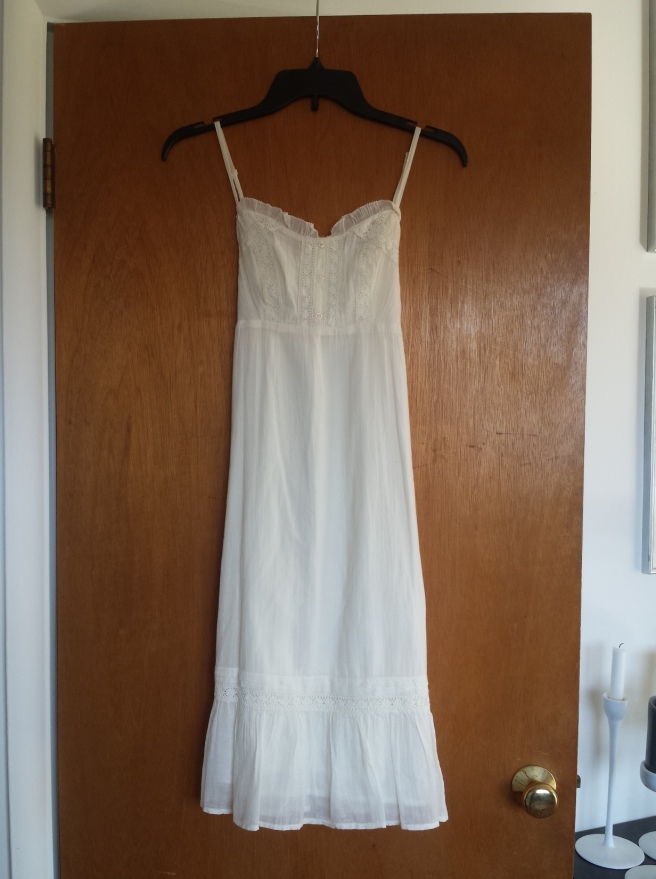
I don’t always check out the clothing when thrifting, but I did this last time and found some great stuff. I’ve already worn this little dress several times, it’s been so nice out:

Little Thrift Dress

I actually bought this next dress brand new for $30 from Forever 21 years ago but it was too big and I returned it, this one fits perfectly and for $5! Forever 21 Dress

The buttons on the top are gone but that has to be the easiest fix in the world of clothing repairs:

Forever 21 Dress

I’ll either replace them all to match or maybe change the way the whole top closes perhaps with some lace underneath.

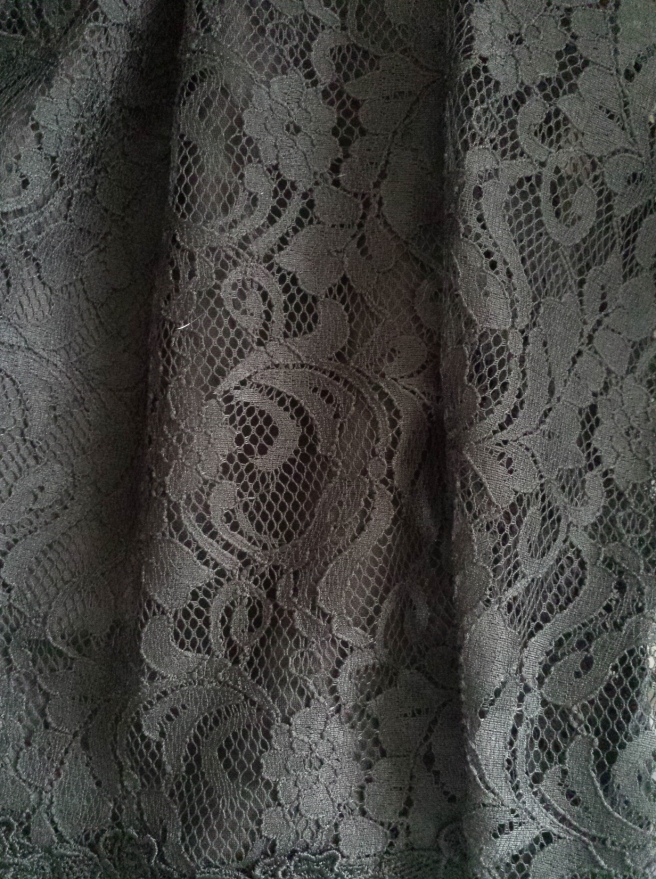
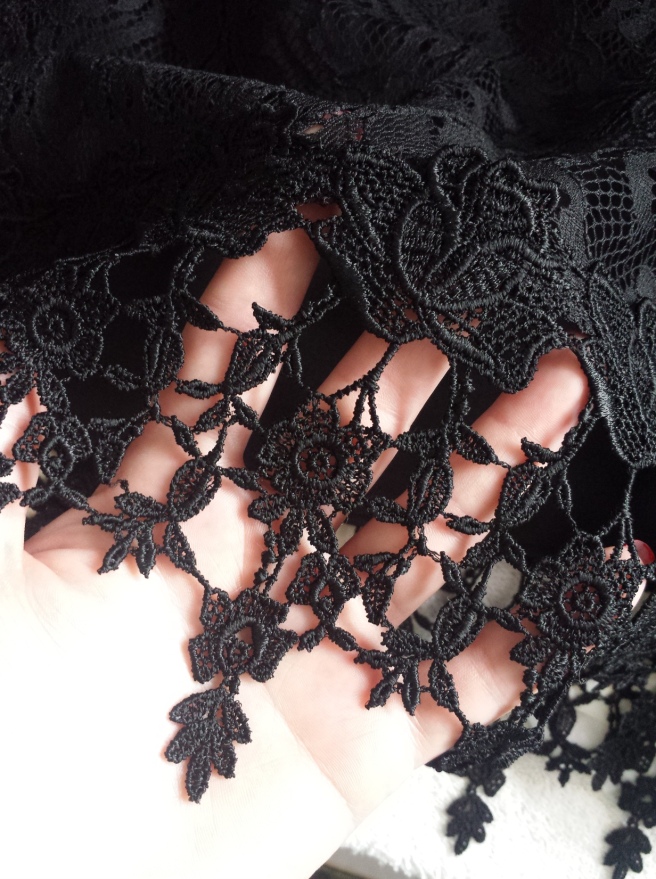
I bought this ridiculously ugly puff sleeve top to harvest it’s lace:

Black Lace

Black Lace Detail

Lastly I bought this silly skull tee, I’m going to have to cut it up though, I can’t stand to wear anything that touches my collarbone:

Thrifted Skull Tee

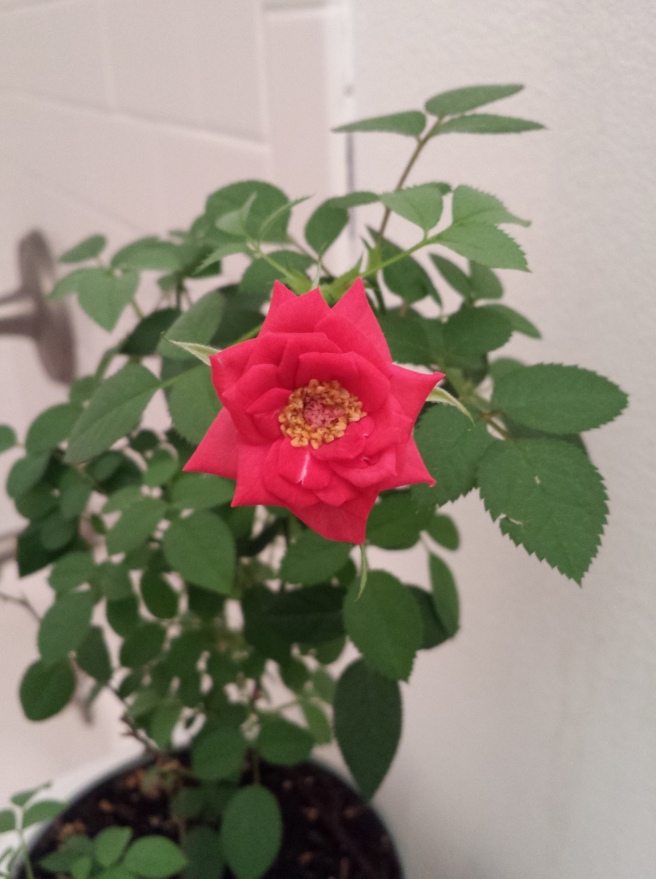
This post has been all over the place so one last thing in honor of the first day of Spring here is my mini rose and its somewhat odd looking flower! Yay Spring! Have a good rest of your Friday!

First Day of Spring Rose

Cheap ~ Easy ~ Comfy Tent Dress!

I buy a lot of skirts at thrift stores. They’re one of the few articles of clothing most second-hand stores have a great selection of. I suppose it’s because a nice skirt is something a woman would buy, wear a few times and then never wear it again. On another note, it’s sometimes hard to guess why items end up at thrift stores, in this skirt’s case though I don’t have to guess… I know. This skirt bleeds dye, lots of dye, and did the first time I washed it and does it still many washes later. If it wasn’t a favorite dress of mine, I wouldn’t bother to hand-wash it separately every time.

I digress. Anyway, I bought this silly hippie skirt specifically to turn into a tent dress. I don’t know if that’s the technical term for a dress that has no waist, but it describes the style perfectly. This dress is pulled on over the head and has two lace straps and hugs the chest right above the breasts.

To turn your own maxi skirt into a tent dress is crazy easy, I barely measured any part of this and it turned out great. It only took me a half hour to complete, and the only supplies I used were thread, scissors, a sewing machine, and lace for the straps.

The first thing to do if you would like to make your own, is check to see if the waistband of the skirt fits snugly at chest level. Mine didn’t, so I cut up the length of the skirt turning it into a rectangle of fabric:

I removed about 6 inches of width, and pulled the drawstrings and elastic out of the waistband casing. Since the dress will be pulled on over the head, the opening can be fitted to the chest without zippers/drawstrings/elastic. With the new width of fabric correct, I sewed the seam back together. I would recommend a french seam, to conceal the raw edges.

At this point the dress is done, it just needs some sweet straps. I used a length of hot pink crocheted lace that I dyed for this project, but didn’t end up using. To make attaching the straps extra easy I pinned scrap ribbon to the dress until I liked the placement and length, then cut into the pink lace for the real straps.

Since this dress was so casual anyway I didn’t really bother making the straps very neat. In less than 10 minutes the straps were on and I was wearing the dress. I sewed the two pieces of lace together at one end, and attached them to the wrong side at the center of the back.


I lined up the other end of each piece of lace to the wrong side of the front and attached those as well.

Bam! Cute dress, for nothing but a couple bucks and a half hour. I will forever be looking for more simple skirts to turn into ultra comfy tent dresses. The same thing could also be achieved by sewing plenty of pleated fabric to a “waistband” and adding straps, but I like to save fabric for more intricate designs (it’s so expensive LOL!)

100th Post and First Ever Giveaway!

Its been awhile since my last post! My goal was to post again last Friday. However, I was “lucky” enough to be picked for jury duty, get put on a trial, and have that trial run for 2 days more than expected…. but I am back now.

As I mentioned previously I wanted to take a break from posting, because I felt that Zounds had gotten stale, and I was having trouble keeping up with it. I seriously considered not coming back, but I think I just needed a little break to remember that this blog is a fun thing not a chore. I have also been working on some format changes. I’m still not quite done, and will be changing things on my homepage still. However, I am moving back to posting regularly and can’t wait to show you all the awesome things I have been working on!

As I also previously mentioned in my last message a couple of weeks ago, I wanted to do something special for my 100th post. So I am doing my first ever giveaway! I am a little nervous, this is still a very small blog, hopefully people enter! Over my little break I’ve been playing around with gelatin printing. I made tons of prints and I really liked the way the lace themed ones turned out… so for Zounds first ever giveaway I will be awarding the lovely prints below to one lucky reader.

The Giveaway: The 3 prints shown above. All are 5×7 gelatin ink prints, handmade by me. The prints are pictured below in frames, the frames are NOT included in the giveaway.

The Contest: Will be open upon the publishing of this post and close at midnight (12 am) on Sunday the 8th of July.

To Enter: Add a comment to this post, telling me where/how you would display the prints. Only one entry per person, and my family members can’t win. Duplicate entries will be discarded.

The Winner: Will be chosen randomly, and notified by email on Monday the 9th of July. The winner has 1 week to reply, if the prints aren’t claimed by that time, a new winner will be selected.

I will also be posting the winner of the giveaway on Monday the 9th of July on this blog, along with a tutorial on how to make your own gelatin ink prints. Good luck, and thanks for reading Zounds!

Cute Shorts Made From Men’s Boxers

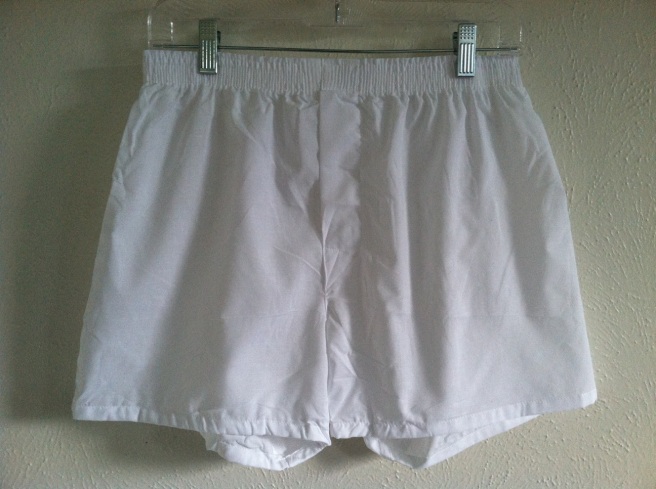
Using men’s boxer shorts as girl’s bloomers or around the house shorts is an easy way to get semi-customized shorts cheap and quick. I saw this idea from Honestly… WTF, originally on Pinterest. Here is their version (click the picture below to go to the post.)

I bought my boxers from Wal-Mart, but I think any clothing store would carry them, my ones came in a three pack. If you want the look above, simple stitch matching white lace to the boxers. Remember to prewash! Especially if the shorts and/or lace are cotton or mostly cotton because they will shrink and might pull at each other funny if they were sewn first. If you wanted a totally no sew pair of shorts, use a product like Stitch Witchery.

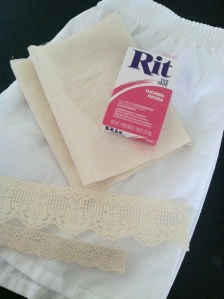
Since I had three pairs to work with, I decided to try something a little different and dye one of them bright pink.

On the left are my starting supplies. I used Rit’s powdered dye in Fuchsia. Rit has a ton of dye resources on their website, ritdye.com, including a color formula guide. I decided to use the stove top method to dye my material, since I’ve done it before and I liked the results. I wanted to do a double layer of lace, the larger lace was thrifted and of unknown content. The smaller lace I got from Wal-Mart as well and was 100% cotton. I also threw in an eighth of a yard of unbleached muslin I wanted pink for another project. I didn’t pre-wash the lace, which I should have done, and would definitely recommend you do since my 100% cotton lace shrunk and I wasn’t able to use it.

For more information on the types of dye processes including the stove top method read this, on Rit’s website. Here are my things in the dye bath:


After they had been in the dye bath for 30 minutes, I rinsed them until the water ran clear. I then threw them in the washer with my homemade detergent (recipe here) on a regular cycle. The results were mixed, I’ve read many places that the best attitude when dyeing is to expect nothing, because you never know how they will turn out.

Here are the shorts:

They were 55% cotton, 45% polyester and as you can see, they achieved more of a heather finish.

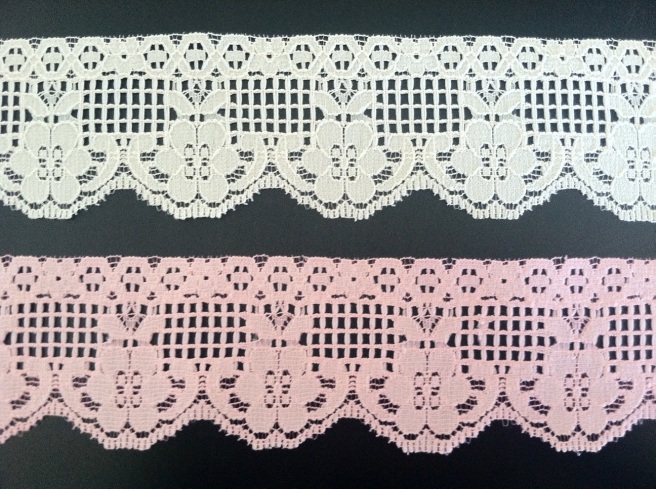
Here is a comparison of the large lace, which I think must have been 100% polyester or similar synthetic fiber, and didn’t accept the dye very well at all.

Here is the 100% cotton lace, which achieved full color and looked amazing. However, as I already mentioned I measured and cut it before I dyed/washed it. You can tell in the photo the lace shrunk quite a bit and was no longer enough to fit around the shorts.

Lastly here is the unbleached muslin before and after. It took the dye very evenly although wasn’t as vibrant as the 100% cotton lace.

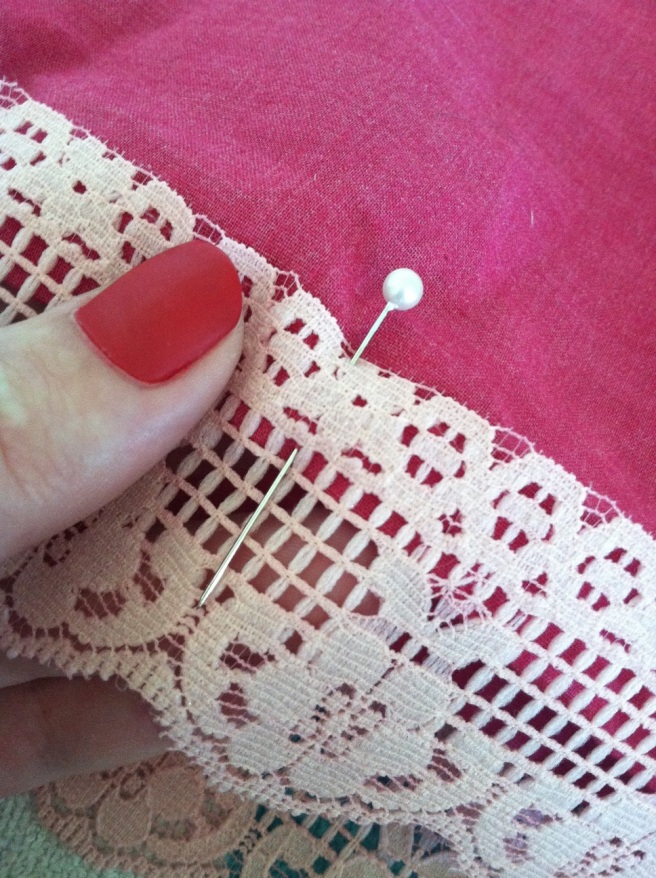
I decided to sew the large lace to the front of the shorts, since I thought that looked nicer. All you need to do is pin the lace where it looks good, and sew it on.

To join the two ends of the lace, I trimmed until there was only a few millimeters of overlap, and hand-stitched the two ends together. I also hand-stitched the crotch opening closed as I want to wear these as around the house shorts. If you were planning to wear yours as bloomers layered under short skirts it wouldn’t matter as much.

Here are the shorts before and after:

I really like them, very cute and feminine for lounging around the house. Another good thing about dyeing, the shorts are now opaque, before dyeing the white fabric was sheer enough to see through. For the other two pairs of boxer shorts I have, I plan on making a plain white lace pair and maybe a black one with lots of lace to wear under some of my sluttier skirts.

Simple Fix for a Too Tight Skirt


I picked up this dark denim skirt second-hand two days ago. It’s from Ann Taylor and I got it for $3.99. I never try stuff on at thrift stores, I generally hold it to my body and guess if it will fit or not… this time I got it wrong, but just barely. When I tried it on at home it was about an inch from being wearable and about two inches from being comfortable.

First I looked at the side seams, since they were only half-inch and serged, it would be impossible to let it out two inches. I considered adding fabric to one of the sides instead of the front but again I didn’t want to mess with the original seams. Below is how I altered the skirt to fit me, you can follow the same directions for any woven skirt with a zipper. Keep in mind the added fabric will alter fit of the whole skirt instead of just the waist like in a traditional alteration. You should also keep in mind that all fabrics and embellishments you use should have similar laundering requirements.

My extra fabric was some beige colored soft cotton that I bought second-hand: So first thing I did was decide how much fabric to add, I measured the circumference of my natural waist and the skirt. My measurement was around an 1 inch larger, so I decided to add an inch to get the skirt to my waist size and another 1 1/2 for comfort. The piece of fabric to be added also needs a seam allowance, I used a half-inch on each side. The length of the extra fabric should be the same as the skirt with a half-inch seam allowance on either end. For me the new panel was 3 1/2 inches by 19 inches. Below is the panel marked out in disappearing ink:

Next I hemmed the two smaller sides, and finished the raw edge with pinking shears. If you want you could also serge or double fold the edge to prevent the raw edge from fraying.

To determine where to cut the skirt I measured center front and center bottom and marked them with pins, then I sliced the skirt open along that line:

The next step is to pin the extra fabric right sides together to one of the skirts raw edges like so:

Stitch along the pins, back-stitching on each end to hold the thread in place. When one side is done press the seam, then repeat the process on the other side. Once the panel is attached press the seams. Like I said about the top and bottom hemming, you will need to either serge or double over the hem or use pinking shears like I did to prevent fraying:

Here is the skirt after pressing:

If you used an opaque or patterned fabric then your skirt would be finished here, my panel was a bit see thru and quite plain. I added some lace that I purchased back at the beginning of the summer (original post here). If you would like to attach similar lace, pin to the panel of fabric and hand-stitch along the straight edge.


I finish attaching my lace by tacked down the free hanging edge every few inches and binding the top and bottom edge with thread. Here is the result:

My too tight denim skirt now fits very nicely, and it looks awfully cute as well. It’s a little short to wear in winter but maybe with some leggings it would be okay. Good luck trying your own skirt alterations!

Wardrobe Revamp: Old Skirt Re-Redo

I can’t remember exactly where or when I got this skirt because its been that long. I don’t have a picture of it in its original state, the hemline fell awkwardly around mid-shin. This is a picture of it after my hem alteration from several years ago.

I wasn’t good at sewing when I decided to alter it, and it shows. I had cut the detailing on the front in half and the sheer nylon edge to the lining got messed up so that there was a two-inch gap on both sides. However I loved the fit and feel so I wore this thing all the time. The the other day I noticed the nylon edge had gotten damaged.

I decided the best thing to do was replace the edging with some lace (I was never crazy about the nylon, it was static-y.) The only lace I had on hand was this stuff that I bought at the thrift store the other day. It’s hard to tell from the picture but it’s “antique white” in color, and holding it up to the skirt I realized I had a problem. Years ago this skirt was cream-colored, now it’s more like a faded dingy white. Unfortunately the selection of faded dingy white lace at Joanns is minimal… The only options I saw where 1. leave it plain 2. dye the skirt or 3. contrasting not matching lace. Without edging it looked too plain and dyeing could result in an even harder to match color so I went with a contracting trim.

I really liked this crocheted black stuff at the store, it made me think of flappers. However it was 17.99 a yard, so this pre-gathered black lace for 2.99 a yard won. It was insanely difficult to pin this stuff level to my skirt thanks to my first uneven hem and equally uneven lining job.

For the lace seam I used a new technique (for me) I got from this fascinating book Couture Sewing Techniques, Revised and Updated by Claire Shaeffer. It’s about 15 bucks on Amazon, or free if you check it out from the library like I did. It’s full of hand sewing tips, and amazing vintage couture dresses. My seam isn’t exactly perfect or invisible but I am far happier with it then the other attempts I have made with joining lace.

Overall I am very happy with my fixed skirt. I think I will be wearing it for years to come.

Thrift Store Finds

I found some sweet stuff at the thrift store up the street from my parent’s house the other day, all sewing stuff you might notice… I cracked the box with my sewing machine in it, can’t stop myself from some starting some kind of project.

Gorgeous printed cotton, 3 yards for only 2.25

Almost 4 yards of this off white lace for only .99

Plus this sweet shirt for 2.99, it needs some help to remove the granny-ness but I love the crocheting (apparently so does Todd)

I don’t think I’ll keep the under shirt attached, or the buttons… or the color.