Pop Art Print Styled Painting AKA The Lips

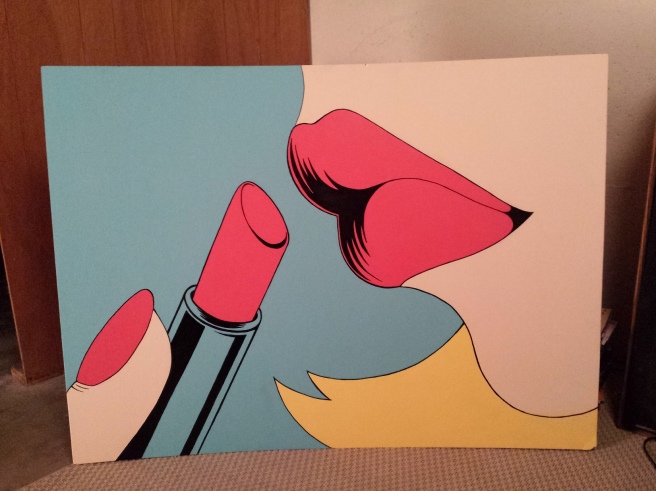
I’ve been working on this painting very sporadically for at least 6 months. I finally put the clear coat on it a few days ago:
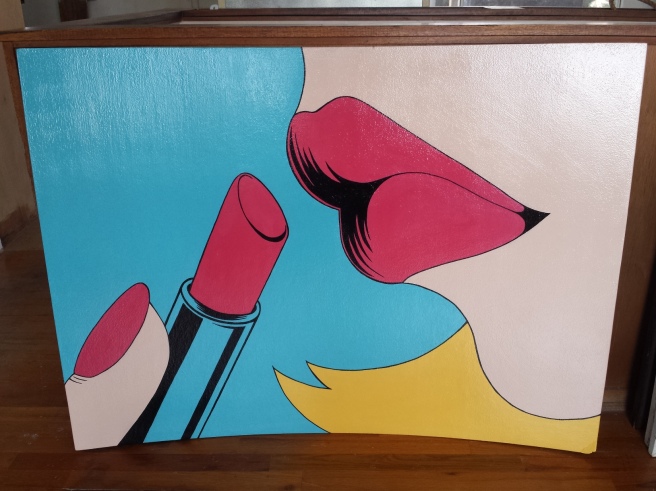
Pop Art Lips PaintingThe wood that this painting is on is actually a project I did years ago, for a different house with a different dining room. Check out what it use to look like here. Matt and I had both really wanted some type of big bold looking pop art in the dining room but had a hard time finding one we liked. Pop art is cliche, the bold primary colors, the simplistic style, I love it but any print that instantly makes you say it’s pop art has to remind you of what you’ve seen before. I found this print from Deborah Azzopardi (check out her website here) that I really liked it but when I first found it, it was out of print.

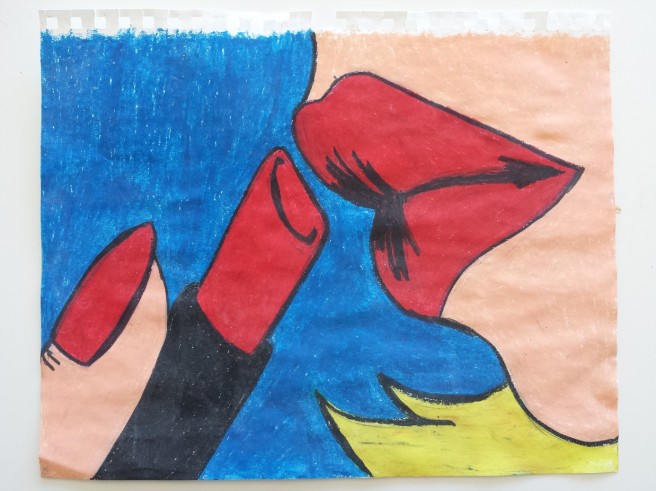
Saturday Night Giclee PrintHowever, I see on allposters.com it is avaliable again. I wanted to make my own, large painting based on this print. I started with a rough oil pastel sketch based on the scale of my wood piece:

Pop Art Lips Painting

I thought originally that I wanted to mimic the comic book primary colors typical of this style. I started with bright blue, true red and a very primary yellow but after repainting all the colors dozens of times (not exaggerating) I landed on a more modern color palette.

Pop Art Lips Painting

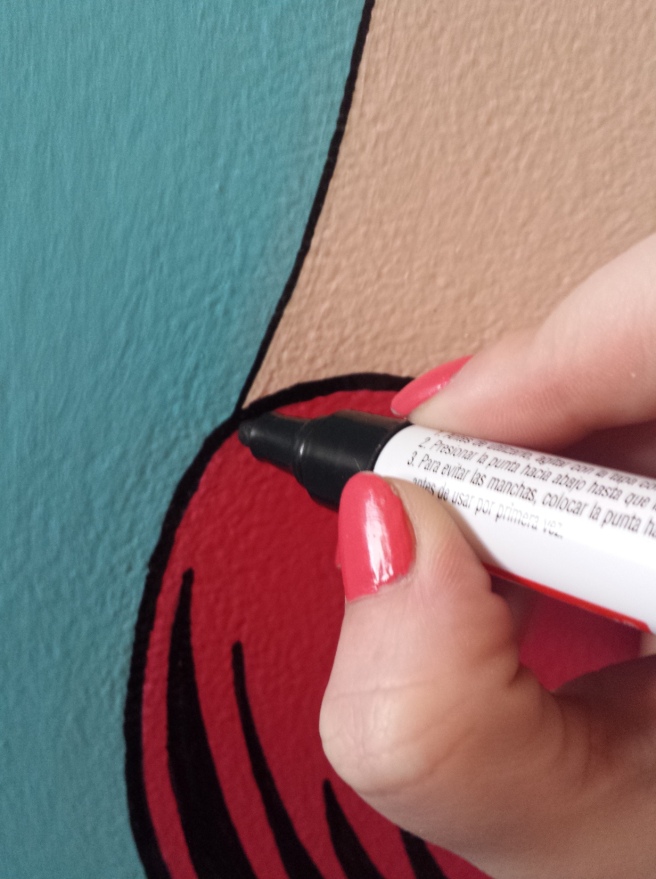
To do the outlining I tried out some paint markers, which I had never used before.

Pop Art Lips Painting

I had tons of fun using the pens, the only hard thing was how sticky the paint was as it dried. If I tried to go back in to a line before the paint was dry it would pull up the drying paint. I decided at the last minute the pink needed to be brighter and ended up having to re-line all the pink areas. Pop Art Lips Painting
Here it is with the brighter pink, in my basement where you can barely tell:

Pop Art Lips Painting

I loved the new pink, and the first day the temperature was over 50 I took it outside to clear coat it. It was a total disaster, probably since it was so big no matter how slowly and evenly I sprayed the acrylic coat on it looked blotchy. I was really worried that I would have to sand or repaint or throw it on the scrap pile, but I bought a can of water based poly and painted it on. Pop Art Lips Painting
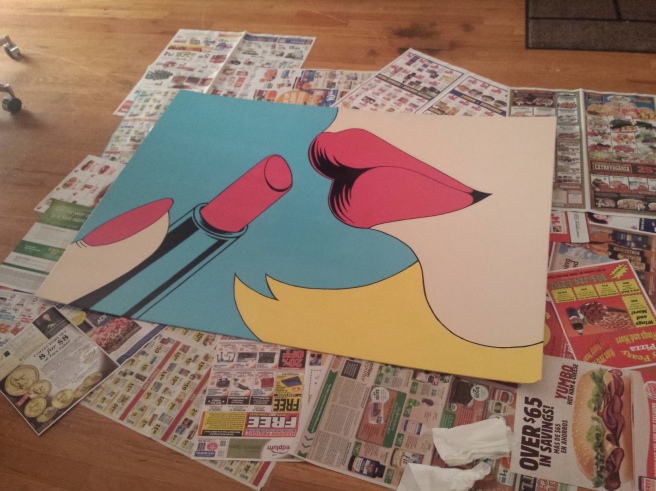
To my immense relief it worked beautifully. Here it is again all finished waiting for a frame:

Pop Art Lips Painting

Color Gelatin Prints

Gelatin Print Wood Grain

Mono printing with a gelatin plate, is probably my favorite way to make art. Unlike other forms of printing, or even drawing or painting there is very little pre-planning. All the creativity happens with the ink and materials right on the gelatin block. Often pages you press onto the plate as throwaways, just to absorb excess ink, turn out to be the best print of the day. If you haven’t tried this art form yet read my tutorial and experiment!

Gelatin Print Leaves Gelatin Print Leaves

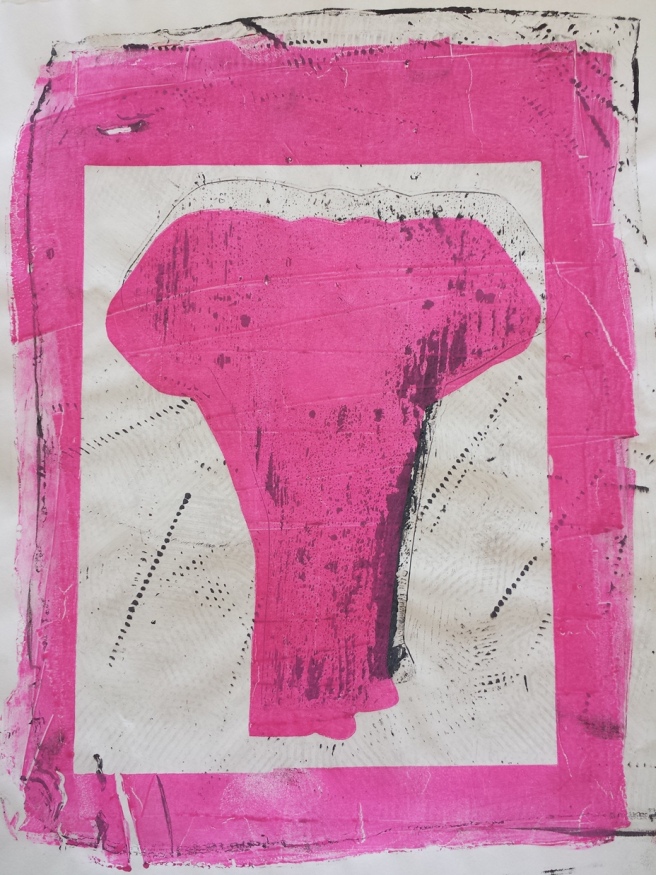
I usually use Speedball’s Block Printing inks, but I’ve heard that using acrylics works too. Speedball’s inks are formulated to stay wet longer and absorb into paper very easily. Using acrylics tended to leave a lot of product on the gelatin block that had to be washed off in between pulls. They also dried quickly and stained the gelatin block. For color variety they were nice but I ended up mixing Speedball’s white ink into the acrylics I used just so the consistency was better. The elephant below was created with their Magenta:

Gelatin Print Elephant Silhouette

To make the shapes, I cut pieces of cardboard and coated them with sealer so that they didn’t absorb ink. However, I found that plain cardboard coated with ink worked just as well.

Gelatin Print Sun Gelatin PrintSun

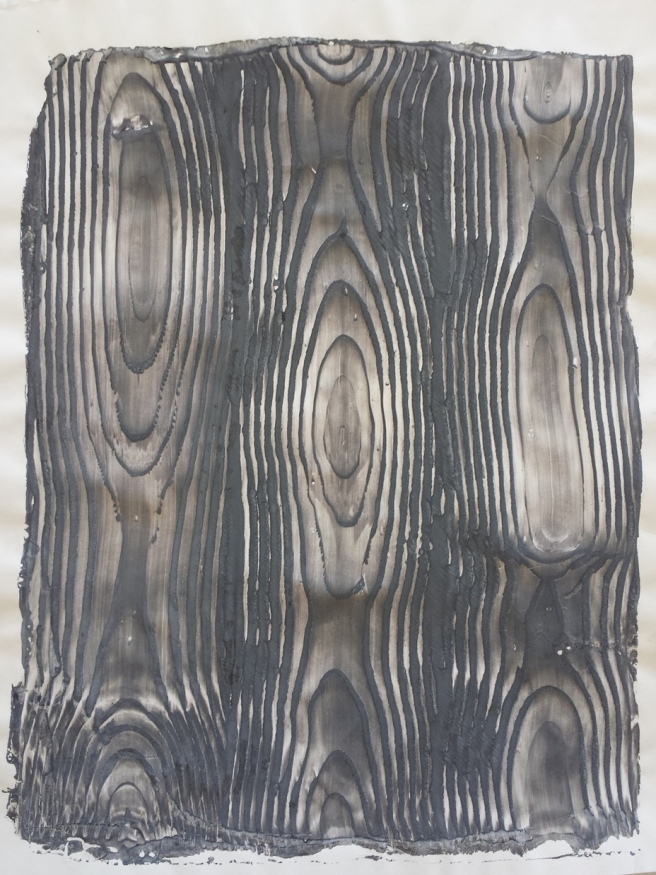
To make the wood grain patterns on the prints above and below, I used a grain rocker. I have this one from Martha Stewart.

Gelatin Print trianles Gelatin Print Triangles

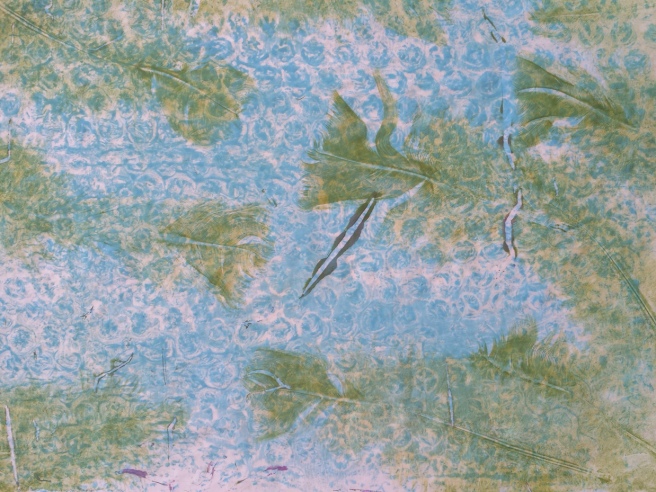
You can use just about anything to create texture and patterns for this method of printing, the background of this print was created with bubble wrap:

Gelatin Print Bubble Wrap

I would recommend springing for the real block printing ink, I’ve seen Speedball ink at both Hobby Lobby and Michaels. It’s a lot easier to use and I think produces cleaner prints.

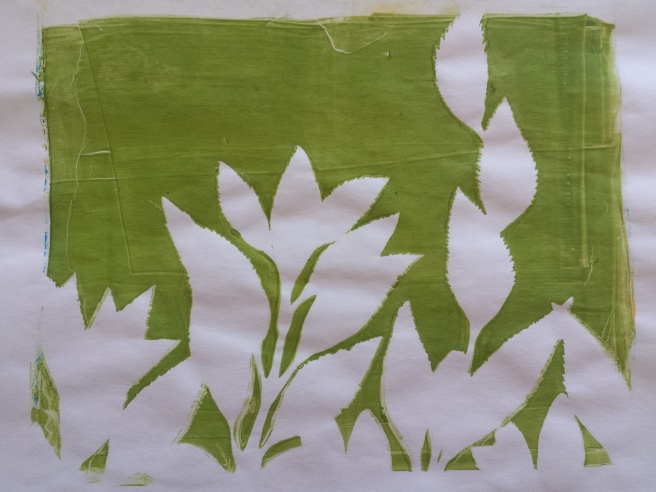
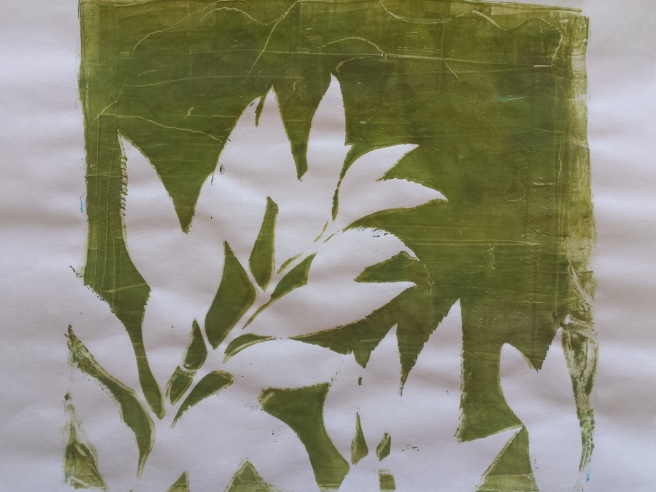
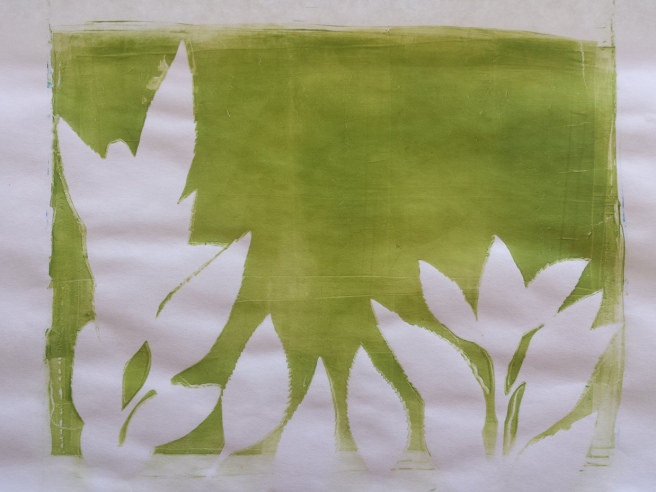
Gelatin Print Leaf Outline

Gelatin Print Leaf Outline

Gelatin Print Leaf Outline

Plywood Tulip Wall Art

Have you checked out Vintageprintable.com? It’s a very cool site full of images in the public domain. The moment I saw this tulip picture from “The Great Tulip Book” published in 1640:

Botanical-Flower-Tulip-17th-Century

I knew I had to use it as inspiration for some type of wall art. When we moved into our new house there was tons of scrap wood in the basement, I found a nice big piece of plywood, gave it an once over with some 220 sandpaper and started outlining my flower:

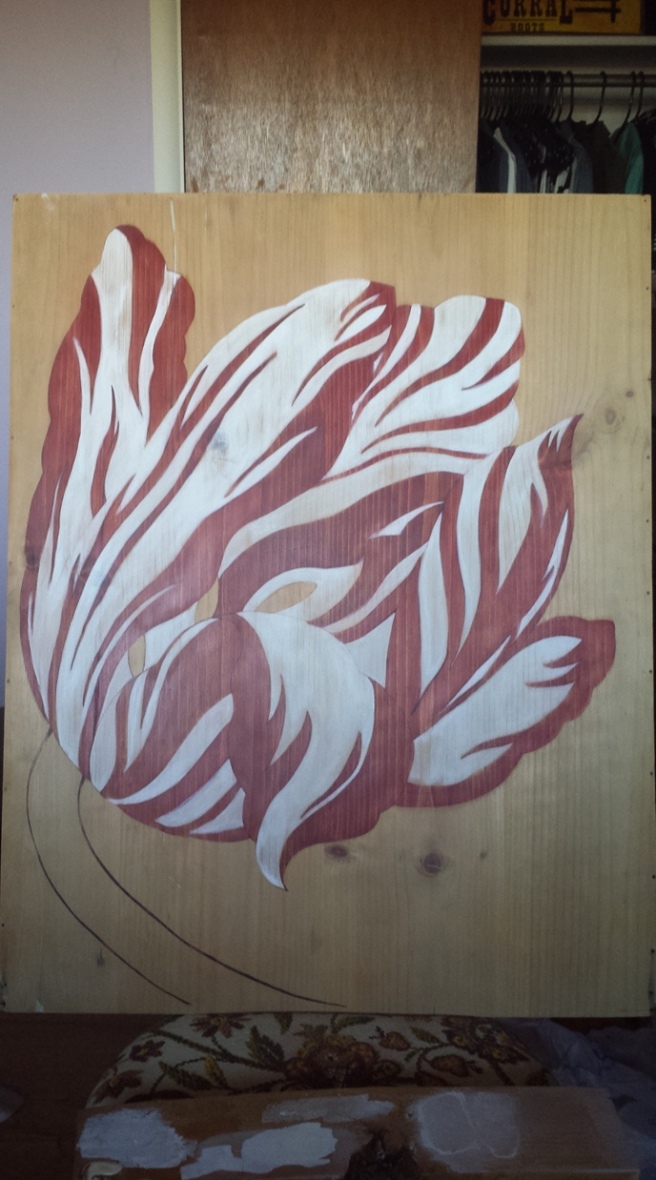
Tulip 1 finishedI wanted a deep dark red so I used oil paint rubbed on with scrap fabric:

Tulip 2 fix

As you can kinda see in the photo the oil paint had a tendency to saturate the surrounding area with oil. I used more 220 sandpaper and removed the oil stains and gave the petals some grain show through. I used acrylic with a paintbrush for the white parts of the petals and then did the same to them.

Tulip 3 fix

I used a dark brown oil paint to finish off the stem and the stamens. To hang it on the wall I drilled two small holes at the top and threaded some sisal string through, and that was it, a super quick and easy large piece of wall art.

Tulip Finished

Gelatin Print Tutorial, and Giveaway Results!

Thanks to everyone who entered my giveaway contest, and congratulations to Terri at Time to Be Inspired (check out her blog!), the winner of the prints! I really enjoyed making them, and all the other gelatin prints I have been making lately. It’s super easy to do, and would be a great activity to do with kids. Here are some of my finished prints:


Here is what you’ll need to make your own:

  • Unflavored gelatin (I used 2 boxes or 8 packets of Knox brand)
  • A dish, pan or cookie sheet to form the gelatin plate in (I used the bottom of a broiler pan)
  • Printing ink (I used Speedball Block Printing Ink in Black from Hobby Lobby)
  • A brayer to spread the ink on the plate (like this one)
  • Something you want to make prints of: leaves, feathers, stencils, etc.
  • Paper, heavier paper like card-stock works well, but you can get cool effects with others like, old dictionary pages, sheet music, handmade paper etc.

To make the gelatin plate, boil 2 cups of water. While it’s boiling, dissolve the packets of gelatin into 2 cups of cool water. Combine the two cups of boiled water with the dissolved gelatin mixture. Pour the mix into your plate form, skim the top for bubbles so the surface is perfectly level. Place in the fridge, the plate should be plenty hard in a few hours, but I like to keep it in the fridge overnight. Here is my ready to use plate:


I didn’t have anything specific I was trying to make the first time I tried this so I had tons of stuff I wanted to try to make prints of, and tons of different types of paper. Here is my collection of stuff to try out:

To begin making prints, pour out some ink onto a paper plate or palette or whatever you got. Spread some onto the brayer and apply to the gelatin plate.


For each run, you will be making two prints. So once the plate is covered evenly in ink, arrange whatever you want to print on the plate. For this run I placed three lace appliqué pieces that were left over from my wedding dress on the plate:

Place a piece of paper over the plate and rub the ink on the paper, be careful not to shift the paper around to much. As you can see in the picture below I was using scrap paper.

Here is that piece of paper pulled up, this is called the negative image.

To get a positive image, pull up the material on the plate carefully. On the right is a picture of the ink that was left on the plate when the lace appliqué was removed.


Using another piece of paper to pick up the leftover ink, this time a sheet of recycled card-stock, I got this image:

Here is a close up:

After a couple of hours of using the gelatin plate it might get a bit mushy, just stick it back in the fridge to firm up again. Over time you might nick the plate or imprint shapes on it, this can result in interestingly altered prints. If you want to change ink colors or otherwise want to clean the plate just wipe it off with clean water, dry it throughly before starting to print again.

Most of my finished prints ended up drying curled up:

To get them to lay flat, I covered a few at a time with a piece of scrap muslin, and ran my iron over them without steam. Then when they were still warm and flexible I bent them back into shape by hand and then stacked them under heavy books.

I find it hard to compose fully formed artwork with the gelatin plate, I like to create different images with the gelatin block and then cut and cobble together pieces into finished pieces of art. Here are shots of me cutting up the lace prints and rearranging them for the giveaway:


On your first attempt it’s best not to try to make anything specific, just play around with objects, paper, inks, negative and positive image and so on. Once your have tons of dried prints, and a better understanding of what works and what doesn’t write down different combinations or layouts you want to try for next time.

For more tips and ideas on gelatin printing check out Printmaking Without a Press’s page on Gelatin Printing Tips she also lots of cool ideas elsewhere on her site. Good luck with your own print making, and congrats again to Terri on winning Zounds’ first of hopefully many giveaways.

UPDATE 1/29/2015

I got a request for a printable version of these instructions, download the pdf here: Gelatin Print Tutorial.

100th Post and First Ever Giveaway!

Its been awhile since my last post! My goal was to post again last Friday. However, I was “lucky” enough to be picked for jury duty, get put on a trial, and have that trial run for 2 days more than expected…. but I am back now.

As I mentioned previously I wanted to take a break from posting, because I felt that Zounds had gotten stale, and I was having trouble keeping up with it. I seriously considered not coming back, but I think I just needed a little break to remember that this blog is a fun thing not a chore. I have also been working on some format changes. I’m still not quite done, and will be changing things on my homepage still. However, I am moving back to posting regularly and can’t wait to show you all the awesome things I have been working on!

As I also previously mentioned in my last message a couple of weeks ago, I wanted to do something special for my 100th post. So I am doing my first ever giveaway! I am a little nervous, this is still a very small blog, hopefully people enter! Over my little break I’ve been playing around with gelatin printing. I made tons of prints and I really liked the way the lace themed ones turned out… so for Zounds first ever giveaway I will be awarding the lovely prints below to one lucky reader.

The Giveaway: The 3 prints shown above. All are 5×7 gelatin ink prints, handmade by me. The prints are pictured below in frames, the frames are NOT included in the giveaway.

The Contest: Will be open upon the publishing of this post and close at midnight (12 am) on Sunday the 8th of July.

To Enter: Add a comment to this post, telling me where/how you would display the prints. Only one entry per person, and my family members can’t win. Duplicate entries will be discarded.

The Winner: Will be chosen randomly, and notified by email on Monday the 9th of July. The winner has 1 week to reply, if the prints aren’t claimed by that time, a new winner will be selected.

I will also be posting the winner of the giveaway on Monday the 9th of July on this blog, along with a tutorial on how to make your own gelatin ink prints. Good luck, and thanks for reading Zounds!

Dave Dube’s Old Paper Art

While trying to find good examples of amber canning jars for this post, I stumbled across this:

Which is a piece of art created by Dave Dube, on old Ball company letterhead. His blog is a treasure trove of inspiring creations like this one, all done on pieces of old paper ephemera.

In the middle of writing my last post I got completely side tracked and spent a good half hour exploring his blog, Old Paper Art (oldpaperart.blogspot.com). The mixture of history and art is amazing. I find myself so inspired by his art I want to quit writing, and go pick up my own colored pencils.

Although he has pieces on many different subjects, my favorites are the canning jars: (click the pictures to view their origin posts)

High Rock Cafe

Drawing of Me Drawing at the Hostess Stand

I found today about 30 doodles I did during winter in Wisconsin while I was a hostess at High Rock Cafe. Now to understand this I have to explain about winter in Wisconsin… it’s cold and after it snows once there is snow on the ground until spring. Then to really understand I have to explain about the city of Wisconsin Dells which is a bustling resort town in summer and a ghost town in winter. So put them together and I had a lot of time to stare out the window during my shifts last winter, and here is the result:


I’m not sure why I felt compelled to draw odd abstract shapes filled with patterns, but I did for several months and all I know is they totally kill time… lots of time.

Anyway if you are ever anywhere near Wisconsin Dells definitely go to High Rock Cafe it’s yummy and if I could go back a thousands mile for a quick bite I would.

Paper Roll Wall Art

I saw this great idea on Design Sponge, but they were featuring it off a very cool little blog called Growing Up Creative. This is such a pretty, organic looking piece of wall art you would never guess all you need to make it sitting in your bathroom right now (or I hope so.)Simple save your toilet paper, paper towel, or wrapping paper tubes until you have enough to begin. Cut them into equal sized pieces, arrange them however (I think these look best when glued together as to mimic a growing plant) and then glue them together.

For my version I used hot glue so I didn’t have to wait long for each section it to dry, and gave it a very light coat of black spray paint. I love how much texture this is gives to the wall, and will probably expand it once I decide where to tack it up permanently. I think it would look very cool as a large wall covering over a sofa or sideboard. Also with this project the possibility are endless just like they said on Growing Up Creative, you could staple one together with your kids a craft project or take it all the way to a permanent artistic fixture in your home like I did.